Evlmarine
-
Posts
60 -
Joined
-
Last visited
-
Days Won
7
Content Type
Profiles
Forums
Gallery
Everything posted by Evlmarine
-
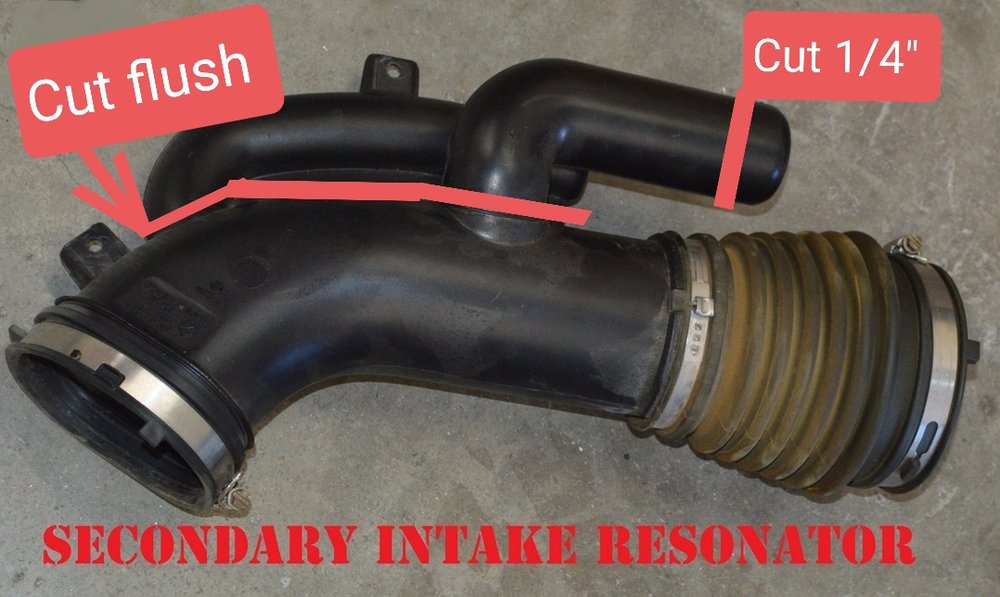
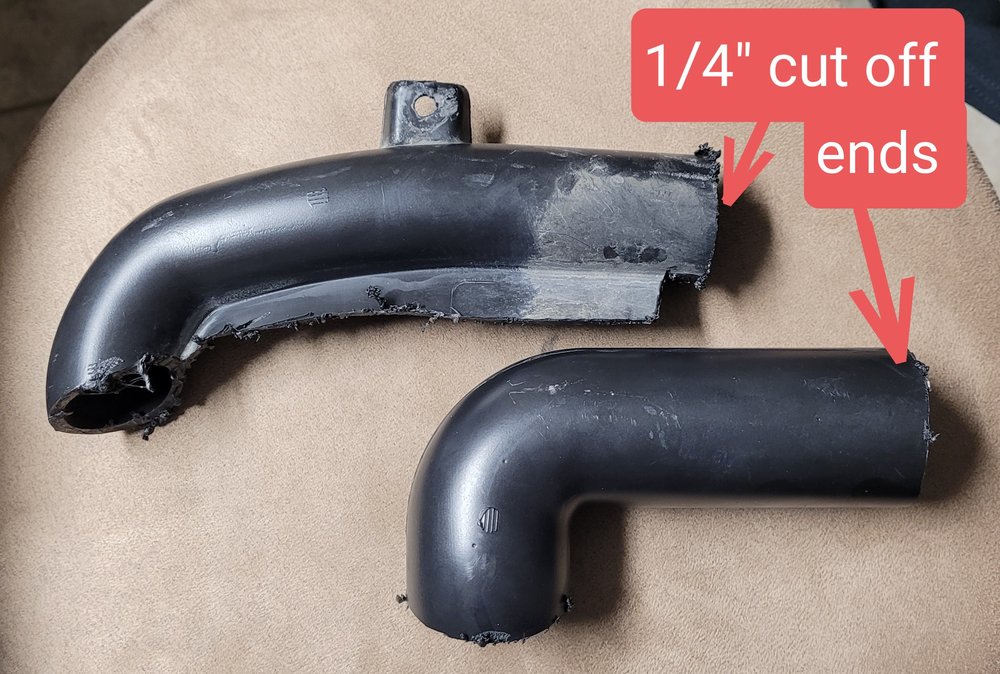
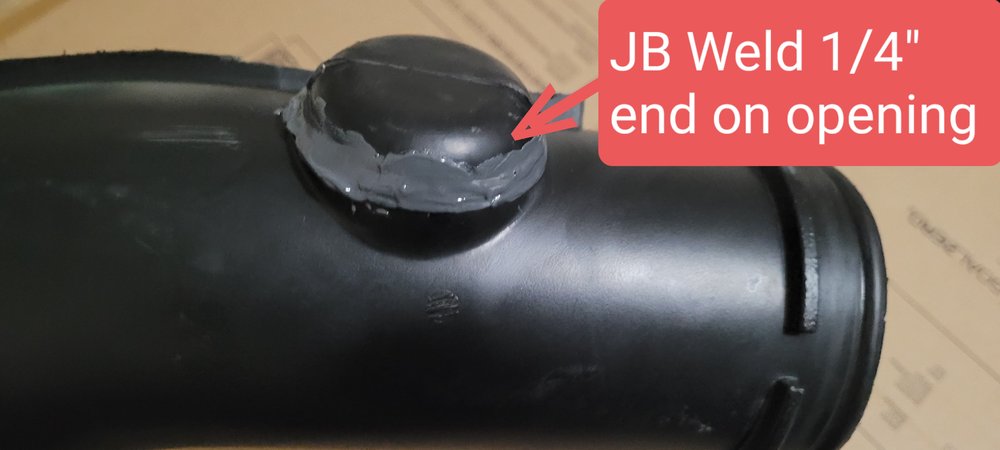
ut on a Spectre SRI with a K&N cone filter. Cleaned the throttle body with seafoam and a soft bristle tooth brush and modified the secondary intake tube 30 mins ago for less restrictive air flow. *Not for the faint of heart.
-
I put these on my Journey and they work real good, they're also easy to install. Dash Cam Front and rear cameras https://www.amazon.com/dp/B07Q5R22DV/ref=cm_sw_r_apan_glt_fabc_WKA203NY142B7A18HKWN?_encoding=UTF8&psc=1
-
Just an FYI for everyone in the forum which is something that I had no idea about. Last year my wife's 2015 Journey SXT AWD started having transmission issues but it was just over the 65,500 miles so no more coverage from the dealership. BUT !!!!!!!!! when I checked the coverage from my insurance company I noticed that it covers mechanical breakdown to 100,000 miles. So I took it to the dealership and they fixed it and only paid my deductible for a transmission and rear differential. So ladies and gents check your policy for this coverage because it will save you thousands of dollars.
-
Transmission: Flush? Or drain and fill?
Evlmarine replied to bramfrank's topic in Engine & Transmission
I just did mine last night, literally took me about 40 minutes from start to finish and about $110 (6 qts ATF +4, filter and pan gasket). PPE - gloves, goggles 1. Raise Journey and put jack stands 2. Losen but don't remove transmission pan screws (8mm) let oil drip out on oil bucket. 3. Remove transmissoon pan, remove gasket and clean magnet. 4. Remove filter (2 torx screws - T25) 5. Replace filter, gasket and pan 6. Refill (mine took 5 1/2 qts) 7. Lower vehicle, start and go through all gears without moving vehicle. Tutorial link below. -
2009 JOURNEY SXT STARTING ISSUE
Evlmarine replied to Tamy1119's topic in Electrical, Battery & Charging
I had the same issue with the wife's Journey this weekend, turns out the positive battery terminal was 80% corroded, replaced it with a new one, also replaced spark plugs and ignition coil packs (link below) and that basically solved my issues. https://www.amazon.com/dp/B07P98RC9W/ref=cm_sw_r_cp_apa_glc_fabc_3W7DPXJVYCQYNF41MK4Z?_encoding=UTF8&psc=1 -
Always go with canbus LED, no need for resistors. the cargo lights on the trunk are festoon.
-
took me a while but got it done...
-
I used 3M double sided tape, its holding on strong after 2 years. The gray double sided tape you find at any automotive store, not the white one from Walmart....
-
Yes they are the Weather Tech visors, the speed test was to test the double sisded tape and was racing the wife with a Juke...
-
I bought the set for the journey, I removed the glue the visors came with and installed them with a better quality double sided tape and they've been on for almost a year and withstand speeds of over 100mph driving from California to Texas more than 3 times. http://www.dodgejourneyforum.com/uploads/gallery/album_308/gallery_11678_308_1196645.jpg
-
I Like it, very original...
-
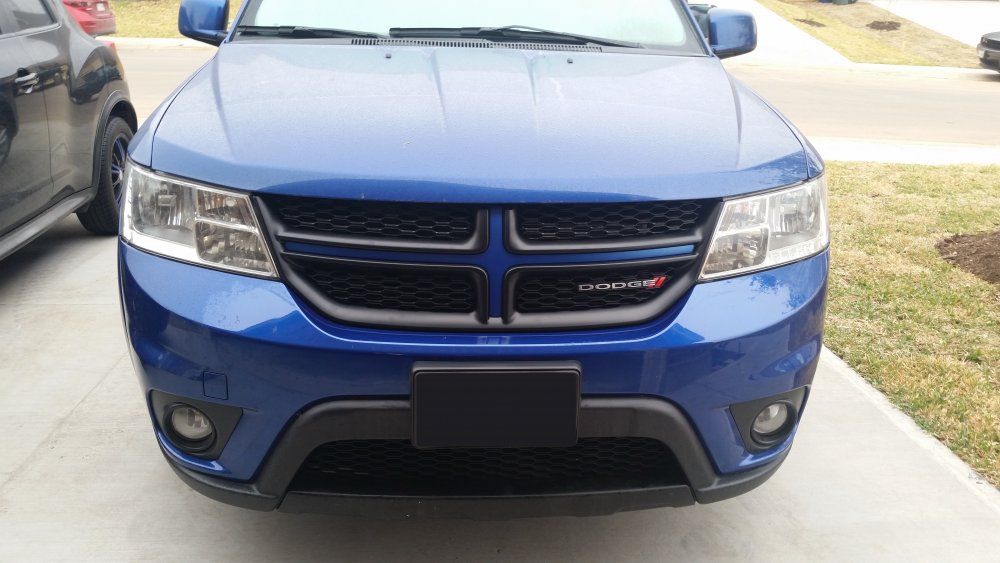
From the album: Blue Journey
Hood and roof damaged by hail storm, total damage was about $2,800... -
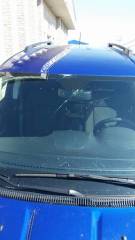
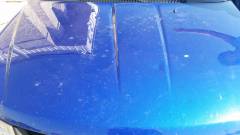
From the album: Blue Journey
This was the welcome we got 2 days after arriving to Texas, a hail storm that basically destroyed the Journey's windshield, hood and roof... =( -
Not all window visors are of the same quality, and it also depends if you want the stick-on or the in-channel ones as well as the universal or vehicle specific. Piece of advice would be to look around in members garage photos and ask them where they purchased theirs.
-
Take it to the dealership and have them inspect all your seals, one or more of them may be pinched or degraded.
-
This is a video of how to change your in-cabin filter, it literally took me less than a minute to do this. Just buy the filter of your choice at your local auto parts store (K&N, Fram, etc... roughly $30-$45 a piece ) and its basically a real quick process that will save you about $45 in labor fees at the local dealership or chop shop. https://youtu.be/WJe3BT4jhMs
- 1 reply
-
- 1
-

-
- in-cabin filter
- journey filter
- (and 2 more)
-
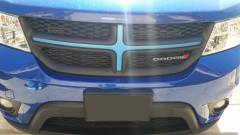 I'm going to take it apart in about 2 weeks, I'll post a write up and pictures on how to take it off and how to separate the grille from the insert. =)
 -
I used 3 clay bars on journey after a crosscounrty trip to make sure I got everything off and it came out pretty spiffy. My arms were killing me the next day after all the workout but it was worth the effort. The trick is to have your significant other or one of your kids spray the car as you run the bar through the entire car so that the solution doesn't dry on you. Then both of you can rinse off the residue and dry the car so its nice and clean with no streaks before you wax and buff it.
-
Yes or some very thin flat screw drivers wrapped in tape.
-
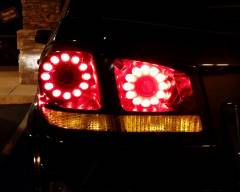
From the album: Blue Journey
This is how the blacked out lights look at night, there's no obstruction of light output.-
- 1
-
-
- brake lights
- night
- (and 2 more)
-
Weather Tech In-channel Wind Deflector
Evlmarine commented on Evlmarine's gallery image in Dodge Journey Member Albums
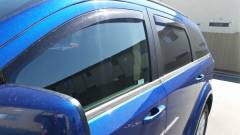 Thanks, these are Weather Tech visors and they're easy to install. You can order them from Amazon for around $90...
 -
Thanks and I agree about the insert, that's why its getting a make over... lol
-
Don't forget to claybar your Journey at least once every 2 months to remove any blemishes and stains left behind from soap and wax. Its a pain and long process but the result is Amazing...
-
Cesar here, currently in San Diego but moving to Texas in a couple of weeks..

-
I took them apart to dip them, took me over 45 mins to take the insert apart from the grille because I didn't want to break any of the clips. I'll take some pics when I take it apart again next month and write up a walk through.