email4walker
-
Posts
171 -
Joined
-
Last visited
-
Days Won
3
Content Type
Profiles
Forums
Gallery
Everything posted by email4walker
-
Do they come on when you put the car in reverse?
-
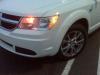
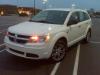
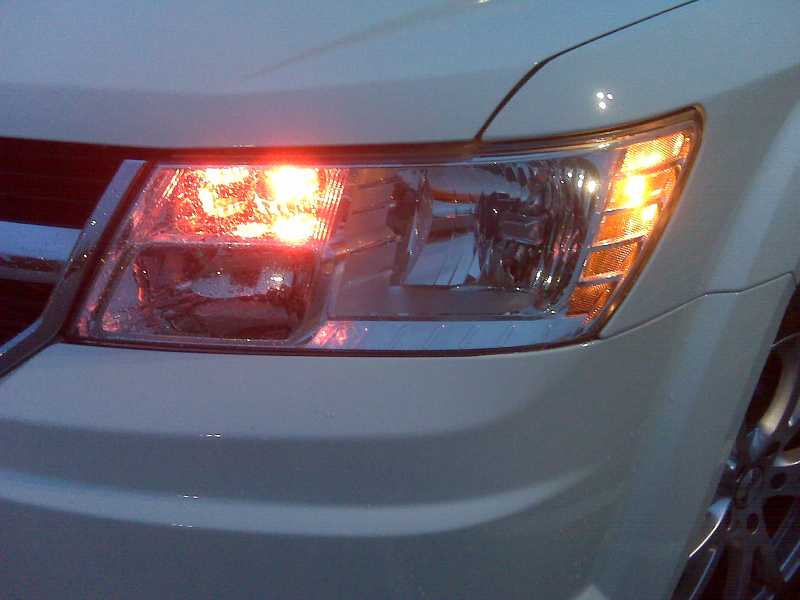
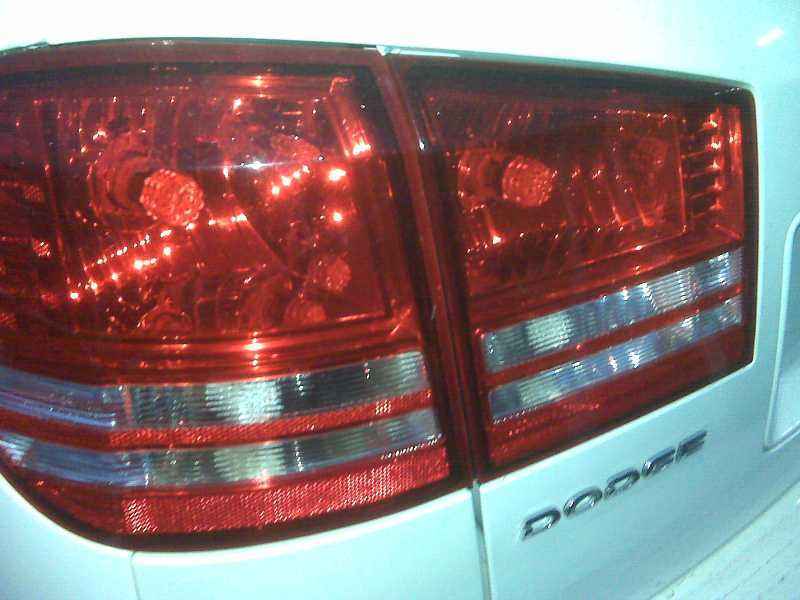
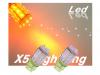
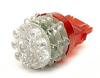
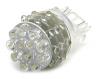
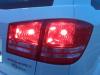
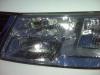
I switched all my lights to LEDs (and I do mean all, inside and out)! To see how to switch the inside lights to LEDs, see this posting: http://www.dodgejourneyforum.com/index.php?showtopic=297 If you want to switch all the outside lights to LEDs, there is a few things you should know: - I have the Journey SE, and there is not a bulb out warning signal or light. I even read the manual and it does not say anything about a bulb out warning signal or light on any of our trim levels (SE, SXT, or R/T). -Use a 3157 to replace the 3757. They are pretty much the same, but you will need to sand down the little bump on the side of the plug on the bulbs. It is really easy. Once you get your bulbs and try to plug them in, you will see what I’m talking about. It is easy. -Get as many LEDs on each bulb as you can. For example, each one of my brake lights has 39 LEDs. Get that many or higher on your brake lights. Anything less is not bright enough. -For the turn signals, buy amber color LEDs. Honestly in the front, the LED turn signal bulbs look sweet, but in the rear, you can’t tell if it is LED or not. I changed mine anyway so all of them are the same color amber (the stock bulb is a different color amber compared to the LED amber). -for the brake lights, buy red color LEDs. Bright white LEDs in the red lens will turn out to be a very washed out red. Not a good look at all (it will look worse than the stock bulbs!). -Don’t switch the front side markers to LEDs. Leaving those really makes your turn signal LEDs stand out and adds contrast. Trust me, it looks nice. These are the bulbs I used. What you use is up to you. Different LED bulb sets give off different shades of light. Example, my turn signal bulbs are bigger than my brake light bulbs, but they give off less light and the amber color is a real deep amber. It looks nice. You may want to buy two different types of each bulb and try them out. Just return or sell the ones you don't use. I did that for my reverse light bulbs. Turn signal LEDs: Stop light LEDs: The reverse LEDs look just like the stop light LEDs except the color they give off is bright white: Here are some pics (the bulbs/colors look better in real life):


-
Created new topic
-
Does anyone have a picture of it installed? Were did you buy it? Did you need anything extra to install it? Thanks.
-
Question: I was looking in the manual, and it said that the turn signal bulb was a 3757. I can not find a 3757 bulb anywhere. Has anyone take the lens apart and saw what bulb is actually in there? It would make sense that a 3157 would be used in all of it, but I just want to make sure. Also, I read the manual and it does not say anything about a "bulb out" warning. Have you seen it happen? I have switched my front lights to HIDs and one socket is not being used. I did not get a buld out warning.
-
If you need better take off speed in your SE, switch to Synthetic oil. I switched to it and I instantly notice my take offs are much better now. Don’t get me wrong, it is not V6 power, but its definitely better power now. I switched over to synthetic at 3300 miles. The bad news is a synthetic oil change cost around $80, but the good news is if you want to, you can wait and get your oil change every 10,000 miles now. Our car manual said we should get our oil change every 6000 miles (using regular oil).
-
Check it out: http://www.dodgejourneyforum.com/index.php?showtopic=924
-
It gives the HIDs the proper and constant voltage they need to run the lights. My kit needed between 9-16 volts to work, but when I hooked them up without the relay harness, it did not work. When you get a chance, take a look at the wires for your headlights, they are really thin. They could never run those lights (the speaker wire in my surround sound system is thicker than our headlight wires. The headlight wires are only like 2 or 3mm thick. I'm not kidding) Another reason to use the relay harness, if you did not have it, the lights might cause other electrical problems down the road because of the high current draw. (When you first turn on the lights, they pull a lot of power. After that it drops down to the 35w.)
-
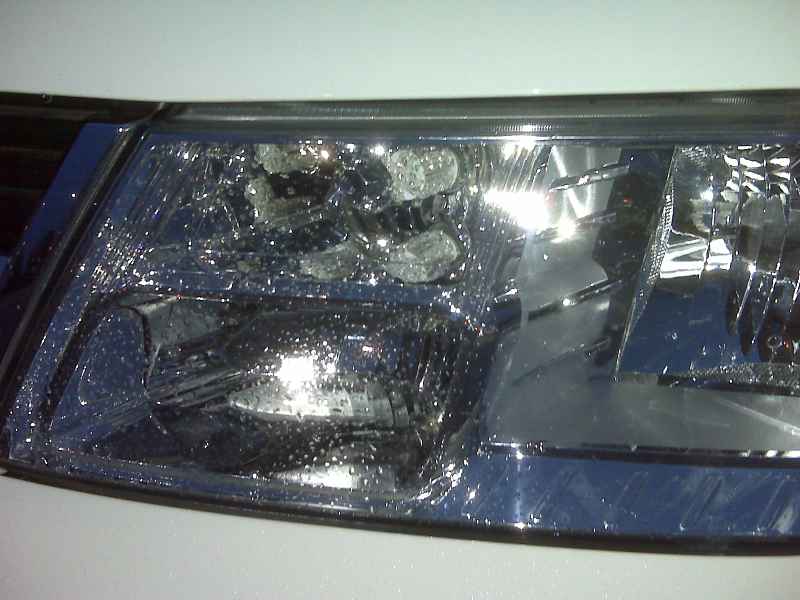
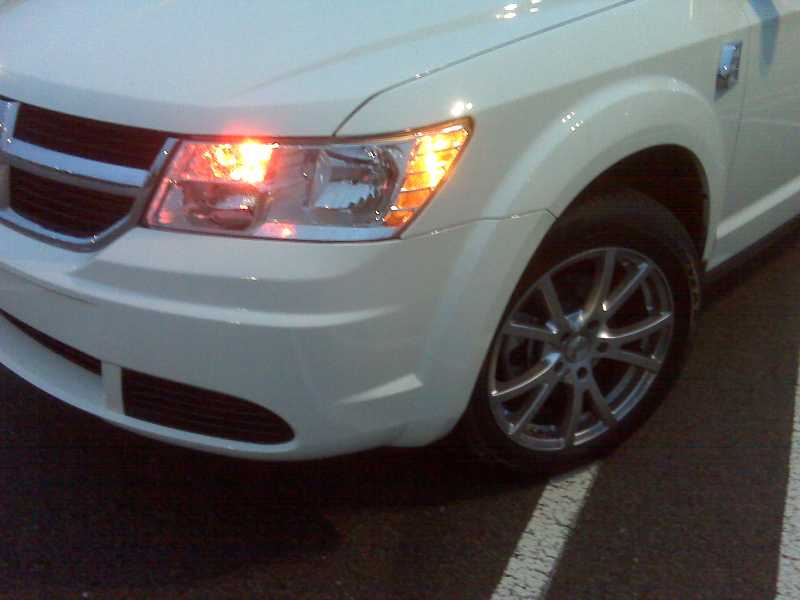
There were some issues uploading the pictures. Sorry about that :rolleyes: Attention Michigan residents: I did ask a Michigan state trooper are these lights illegal. He said no, and said they help you see better. He basically said they are a good idea to have! Ok everyone, some of us had questions on how to install a HID headlight kit in a Dodge Journey. Everyone talks about it, but there is no actual write up (step by step) for our car. I decided to take on the challenge and install a kit myself. It is pretty much the same for every car, but this write up should help anyone with problems. Trust me, I did run into some weird problems. I will list problems and solutions at the end. Let’s get started: Read the directions that came with your kit and use this write up to fill in any blanks. The kit I went with was Lumenez 8000k kit (http://www.lumenez.com). This set is all digital. To be honest, I don’t think there is any real difference between digital ballast and analog ones except that they are smaller. I wanted the 6000k set, but there was a mix up and they sent me the 8000k one. I tried it and I like the 8000k better. There is a hint of blue (crystal type blue), but it is not a overbearing blue that you see on some of these teenager cars (I don’t like those blue headlights and I did not want that look at all). Also, the 8000k puts out 10%/15% less light than the 6000k. I think that is a good thing because in my test drive I did not blind any other drivers. The field of light was right in the sweet spot for my vision and not overbearing for other drivers. http://www.flickr.com/photos/jamaica_trip/3972905364/ http://www.flickr.com/photos/jamaica_trip/3972905668/ They are small. See one below: http://www.flickr.com/photos/jamaica_trip/3972138177/ For the Dodge Journey you MUST use a relay harness. It will not work without it. (skip down a few Steps/pics to see a relay harness wiring diagram) Relay harness pic, see below: http://www.flickr.com/photos/jamaica_trip/3972905570/ First, we must hook up the relay harness to the battery. The battery is too hard to reach to do a direct hookup. So, we are hooking it up to the jumper connections. The jumper connection has thick wires and it does go directly to the battery. See below: http://www.flickr.com/photos/jamaica_trip/3972906074/ The bolts/screws are thick, so you need to cut the relay battery connection rings in the middle so you can widen them and slip it over the screw. Sorry, no pic of the cut ring, only the completed connections. If you still want to use your battery jump cover, you will need to cut it so the wire can get out. See below: http://www.flickr.com/photos/jamaica_trip/3972906294/ http://www.flickr.com/photos/jamaica_trip/3972137501/ http://www.flickr.com/photos/jamaica_trip/3972137021/ http://www.flickr.com/photos/jamaica_trip/3972905602/ Here is a HID relay wiring diagram. See below: http://www.flickr.com/photos/jamaica_trip/3972972682/ Here is a complete setup wiring diagram. See below: http://www.flickr.com/photos/jamaica_trip/3972204703/ Installing the lights: My lights had extra wires that was not needed, so I removed them. You really don’t need that round rubber cover piece either, but I left that part on. See below: http://www.flickr.com/photos/jamaica_trip/3972905960/ http://www.flickr.com/photos/jamaica_trip/3972972880/ Install your lights (don’t touch them!). If you have big hands, your fuse box can be moved. There are two plastic clips on each side of the fuse box (four clips total). Unhook it, and that will give you a few more inches to get to the light bulb on the driver side. After that, find a place away from the engine, to place the ballast and igniters. You should have room on both sides of the fenders. See below: http://www.flickr.com/photos/jamaica_trip/3972138285/ http://www.flickr.com/photos/jamaica_trip/3972905914/ http://www.flickr.com/photos/jamaica_trip/3972136501/ Now connect all your plugs. After you connect your lights and ballast, there will be a extra plug. This is for you to plug in ONE of your original light plugs to. That’s what controls you turning the lights on and off. After you plug everything up, test it and make sure it works. See below: http://www.flickr.com/photos/jamaica_trip/3972138233/ http://www.flickr.com/photos/jamaica_trip/3972906154/ Remember the relay is not water proof (See pic above). I put a open zip lock bag over mine so it could stop most (not all) water and air could still circulate. (the relay does get pretty warm) After you are sure it works correctly (if not, read the problems and solutions at the end), strap the wires down starting with the passenger side first. See below: http://www.flickr.com/photos/jamaica_trip/3972136951/ After you tie down everything, your done! Enjoy your lights: http://www.flickr.com/photos/jamaica_trip/3972061509/ Problem and solution time: Q. My lights flicker when you first turn them on and/or while they are on. (and the relay might be clicking a lot) A. You need to use a capacitor. Here is what you do: Here is the capacitor you need: http://www.radioshack.com/product/index.js...rentPage=search Remove the relay from the harness by simply pulling it off, don't worry about orientation, it only goes in one way. Install the capacitor as shown in the picture (see below). The stripe side of the capacitor is the negative. Install it just how I have it in the pictures. See below: http://www.flickr.com/photos/jamaica_trip/3972972780/ http://www.flickr.com/photos/jamaica_trip/3972830368/ All the other pics are mine, but here is some better pics I found on the internet: http://www.flickr.com/photos/jamaica_trip/3972204735/ http://www.flickr.com/photos/jamaica_trip/3972204775/ Q. I can turn on my headlights, but after I go for a drive, they won’t turn off! (also the relay is clicking like a tap dancer on drugs) A. I had a hard time with this problem, but the solution is easy. The plug that you use to connect your original light plug too, turn it around so the polarity is changed. It looks like the two plugs have a polarity lock so it only fits one way, but that is not true! Unplug it and plug it in the other way and whala, problem solved. (Remember to switch the polarity of the capacitor too!!!!)
-
Headlight bulbs/beam......
email4walker replied to email4walker's topic in Accessories, Modifications
Is this a good kit? Would I need to buy anything else? http://www.vvme.com/5055w-9006hb4-hid-conv...?cPath=44_45_31 -
Is this a good kit? Would I need to buy anything else? http://www.vvme.com/5055w-9006hb4-hid-conv...?cPath=44_45_31
-
Headlight bulbs/beam......
email4walker replied to email4walker's topic in Accessories, Modifications
Has any one used or intalled a HID kit? I think I might go with that beacuse I can't live with these dim lights. -
Mine runs well and it does seem to be getting better.....
-
Windows Tinted
email4walker replied to fmjcafe's topic in Glass, Lighting, Mirrors, Sun Roofs & Wipers
Question: Thought about after market tinting my windows, but does it last in the long run? In about 5+ years, will it start to show air bubbles and peel? I have seen some tint jobs start bubbling and peeling after a few years, but I don't know if it was done at home or professional. Has any one had tinting done before on their car before and can say what will happen in the long run (5+ yrs)? Thanks -
Headlight bulbs/beam......
email4walker replied to email4walker's topic in Accessories, Modifications
That would give them more power, but the question would still be will it melt our headlight lens? Wouldn't it be cheaper and less work to get the higher wattage bulbs? -
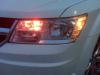
One thing I have noticed is the headlight beam on my Journey (no matter what bulb I use) does not reach that far out. Is that a common problem? Can the headlights be adjusted up a little? The journey headlight bulb wattage is 55w. I have seen after market bulbs for the Journey that are around 80w. Has any one tried them? I'm to scared to try them because they may melt something in the headlight plastic lens. Has anyone tried that mod? I am currently using ultra white bulbs now (a bulb like the sylvania silverstar ultra).
-
I it was not those exact ones, but something like that. I tried to find the exact one I bought, but i don't see them anymore. I figured for $10 i would give them a try. I had sylvania silverstar ultra ones before and they where nice, but for the price, they where not worth it. One problem I have had is the headlight beam on my Journey (no matter what bulb I use) does not reach that far out. Is that a common problem? Can the headlights be adjusted up a little? The journey headlight bulb wattage is 55w. I have seen after market bulbs for the Journey that are around 80w. Has any one tried them? I'm to scared to try them because they may melt something in the headlight plastic lens. Sorry about this, I will try and move this question to a different fourm.
-
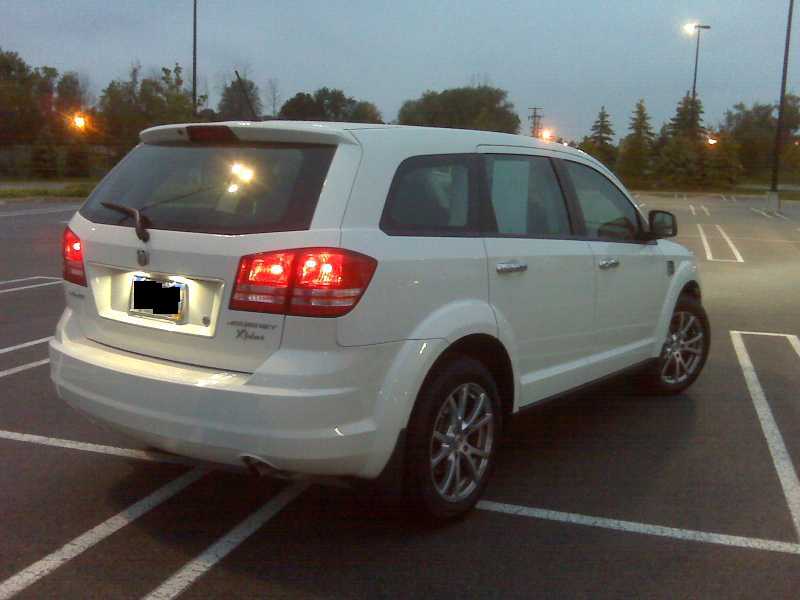
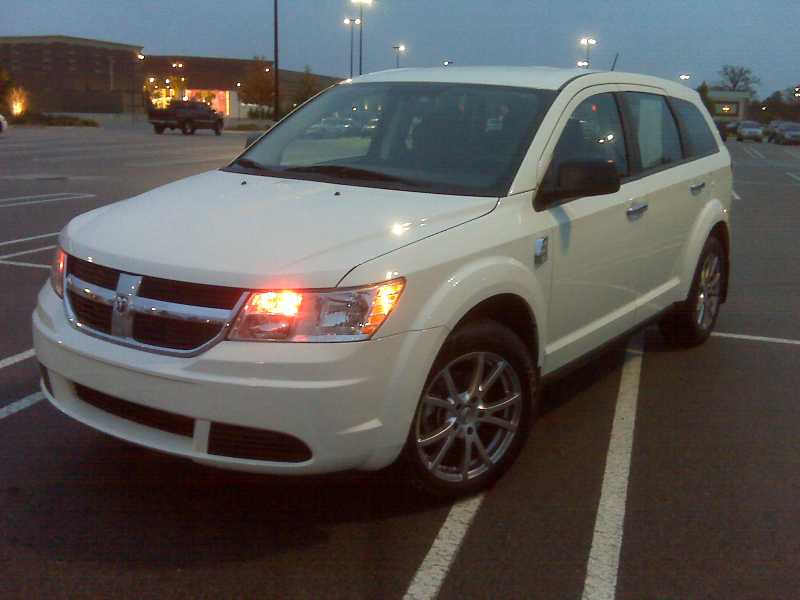
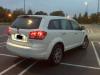
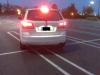
I thought about after market tinting the windows. Will they peel and bubble over time (5 years or more)? Tire size: 225 60-18 The orginal size was 225 70-16 I thought the ride would change because of the thinner tire, but it didn't. It is still a pretty soft ride. It does handle better in the turns now. It dosen't sway as much now. Oh yeah, I forgot to tell everyone that the offset on those rims are 35. The offset should be 40. The 5mm difference helps in the handling (it help with the sway thing I spoke of). I would not recommend going anything above a 35 offset. If you do you will run the risk of damaging your bearings, etc. When you buy your rims, make sure you ask about the offset. I had a few places ready to sell me rims with a 15, 20, and 25mm offset. They didn't care about the offset, only the bolt pattern. Once I asked about the offset and will it damage the bearings, all of them said "yeah, it will over time". Of course my reaction is, Why are going to sell them to me then?! Anyway, ask tons of questions. The Journey is so new, a lot of places don't know that much about it. Also, the dodge caliber and avenger use some of the same parts. You can cross reference them and get parts for your Journey cheaper. Example: I wanted the super white headlight bulbs for my car (not those blueish ones, just bright white). On ebay, If you buy the ones listed for the Journey, they run about $25 + shipping. If you buy the ones for the Caliber (same part number, wattage, etc) it was only $10. How long will they last before they burn out, thats another story...... but for me, so far so good.....
-
Thanks. I will look into getting some of those.
-
Rims for a Journey are a little hard to find because of the new bolt pattern. In my case, I had to order them myself because no tire/rim stores had anything that would fit. The right offset was the thing I had a hard time finding. These are not chrome, only polished. the good thing about ordering them myself is that no one else has them, yet.