

twinx1649
-
Posts
5 -
Joined
-
Last visited
-
Days Won
2
Content Type
Profiles
Forums
Gallery
Posts posted by twinx1649
-
-
Foul Interior Odor Finally Found. It is the dash silencer pad. I've owned this low miles 2014 Journey for a while and haven't been able to pinpoint the foul smell in the interior. I FINALLY removed the seats, carpeting, and center console and found it's the mastic/dash silencer. Since I wasn't going to roll the I.P. to remove the entire silencer, I ripped out everything I could get my hands on. I did replace it with Dynamat and jute as a replacement silencer. NO MORE STINK!!!
-
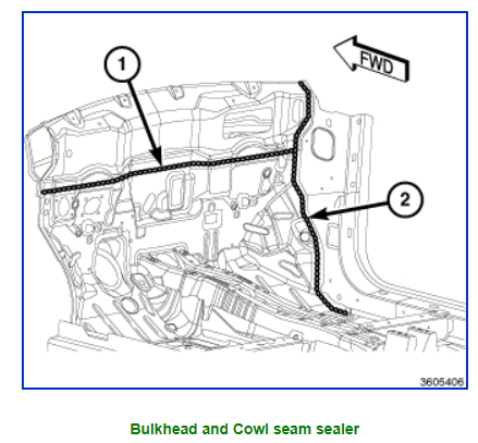
I too am having the same odor coming from the dash silencer pad that covers the inside of the dash panel. It appears that the only way to replace this pad is to roll the instrument panel. It also appears the there is a leak path across the dash panel behind the dash silencer.
-
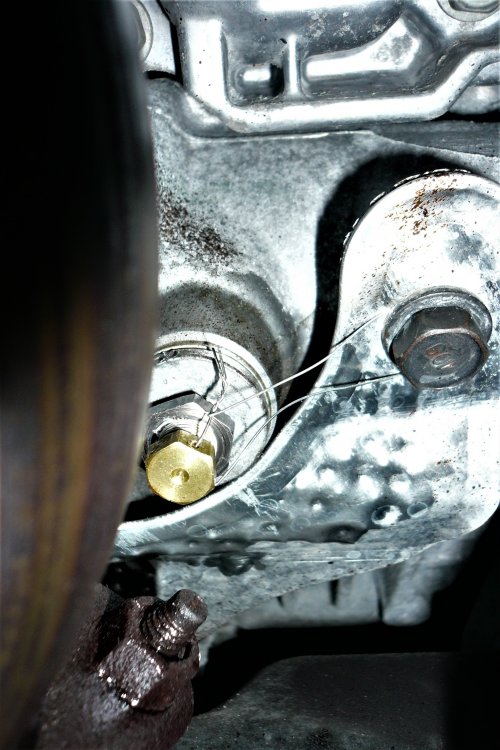
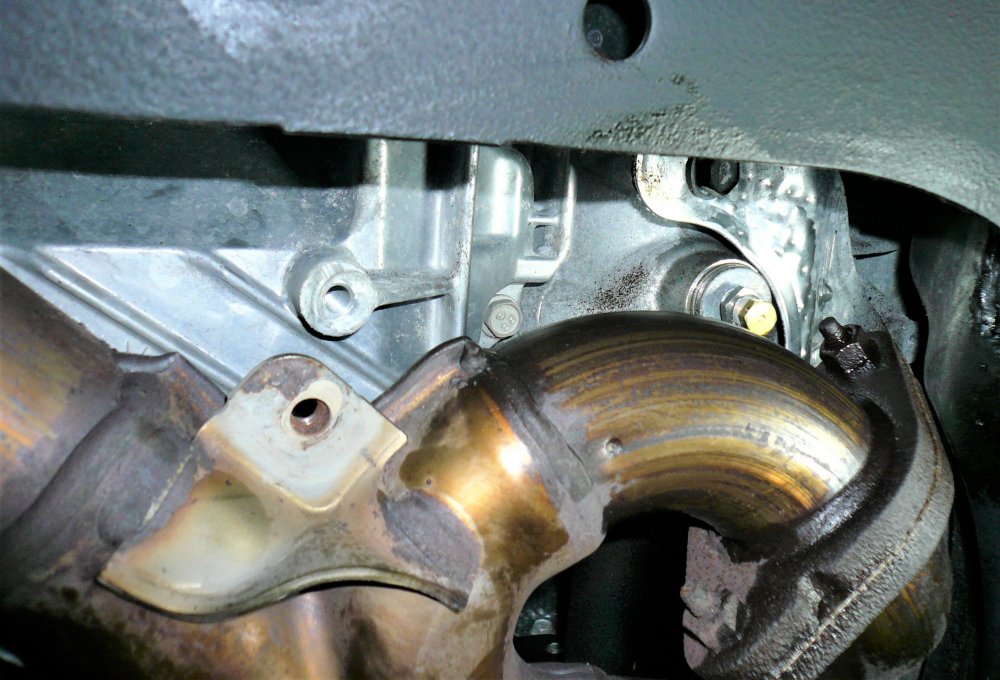
I changed the PTU fluid today and wanted to pass along some lessons learned.
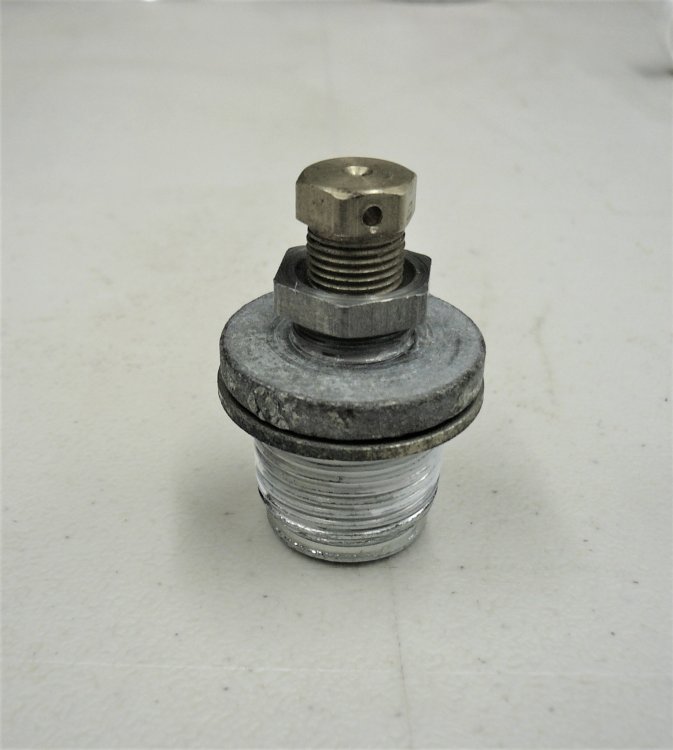
1) It wasn't practical for me to fill the PTU using the fill plug, so I opted to modify the drain plug for fill/drain and it worked well.
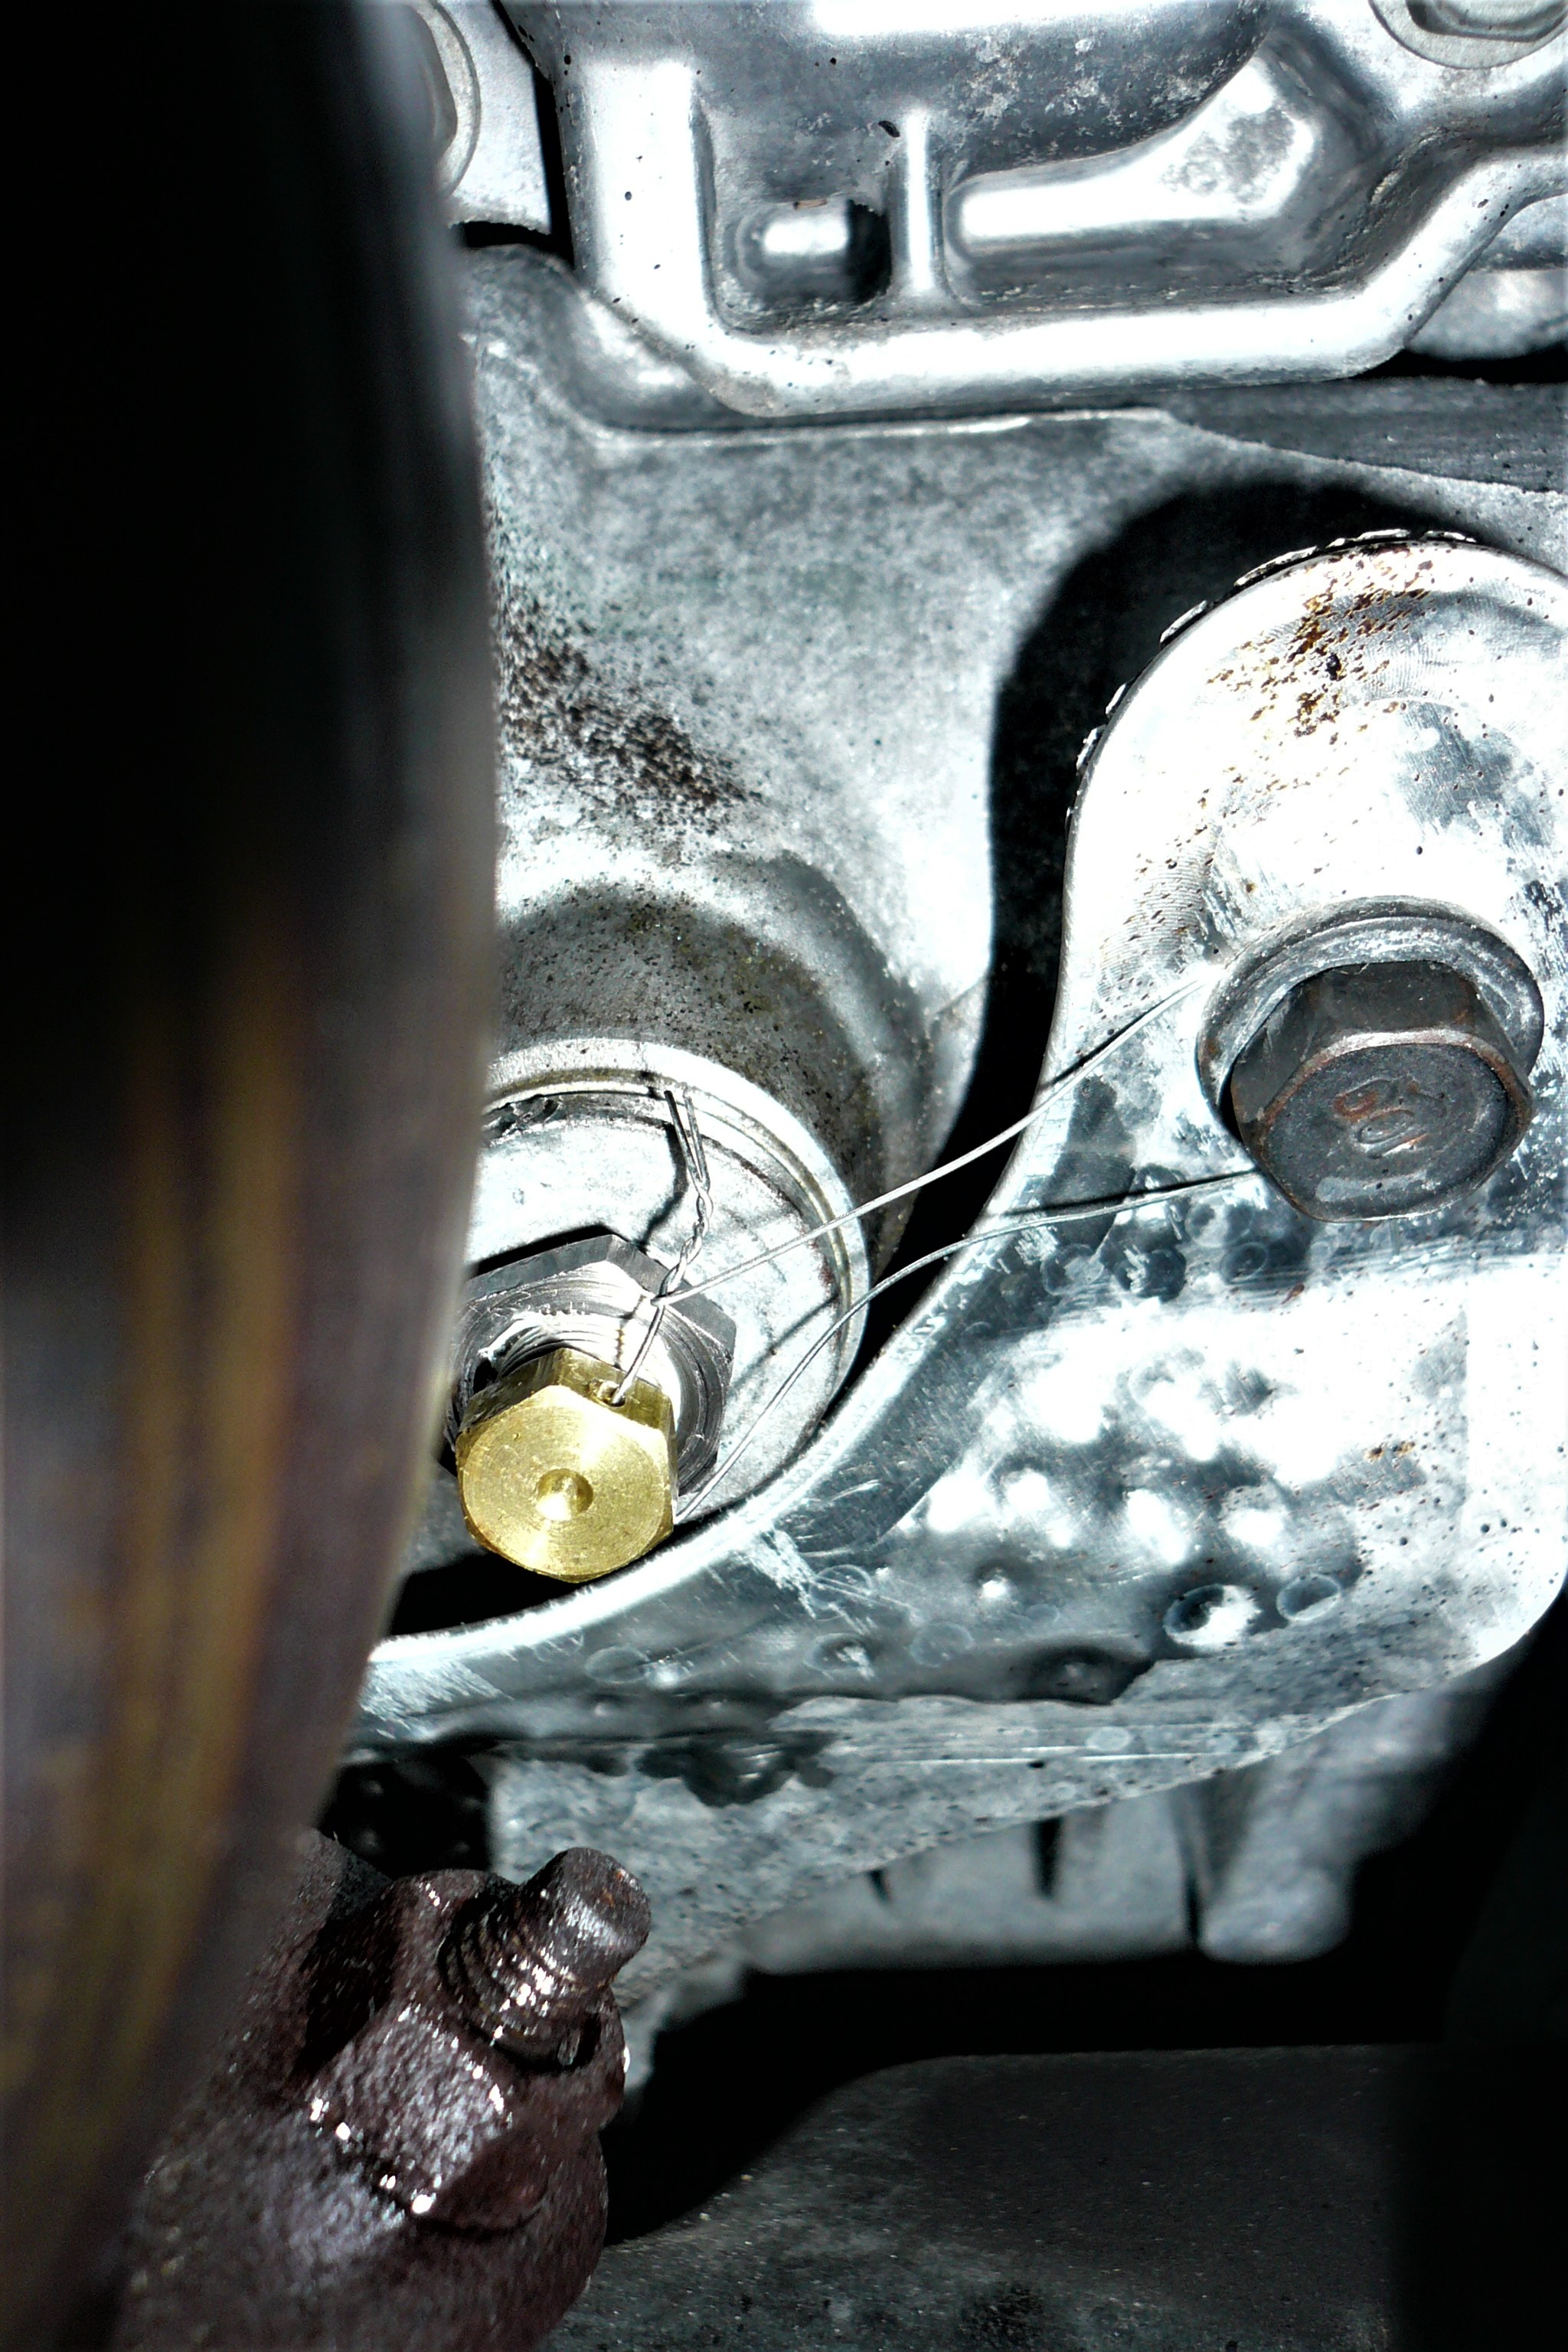
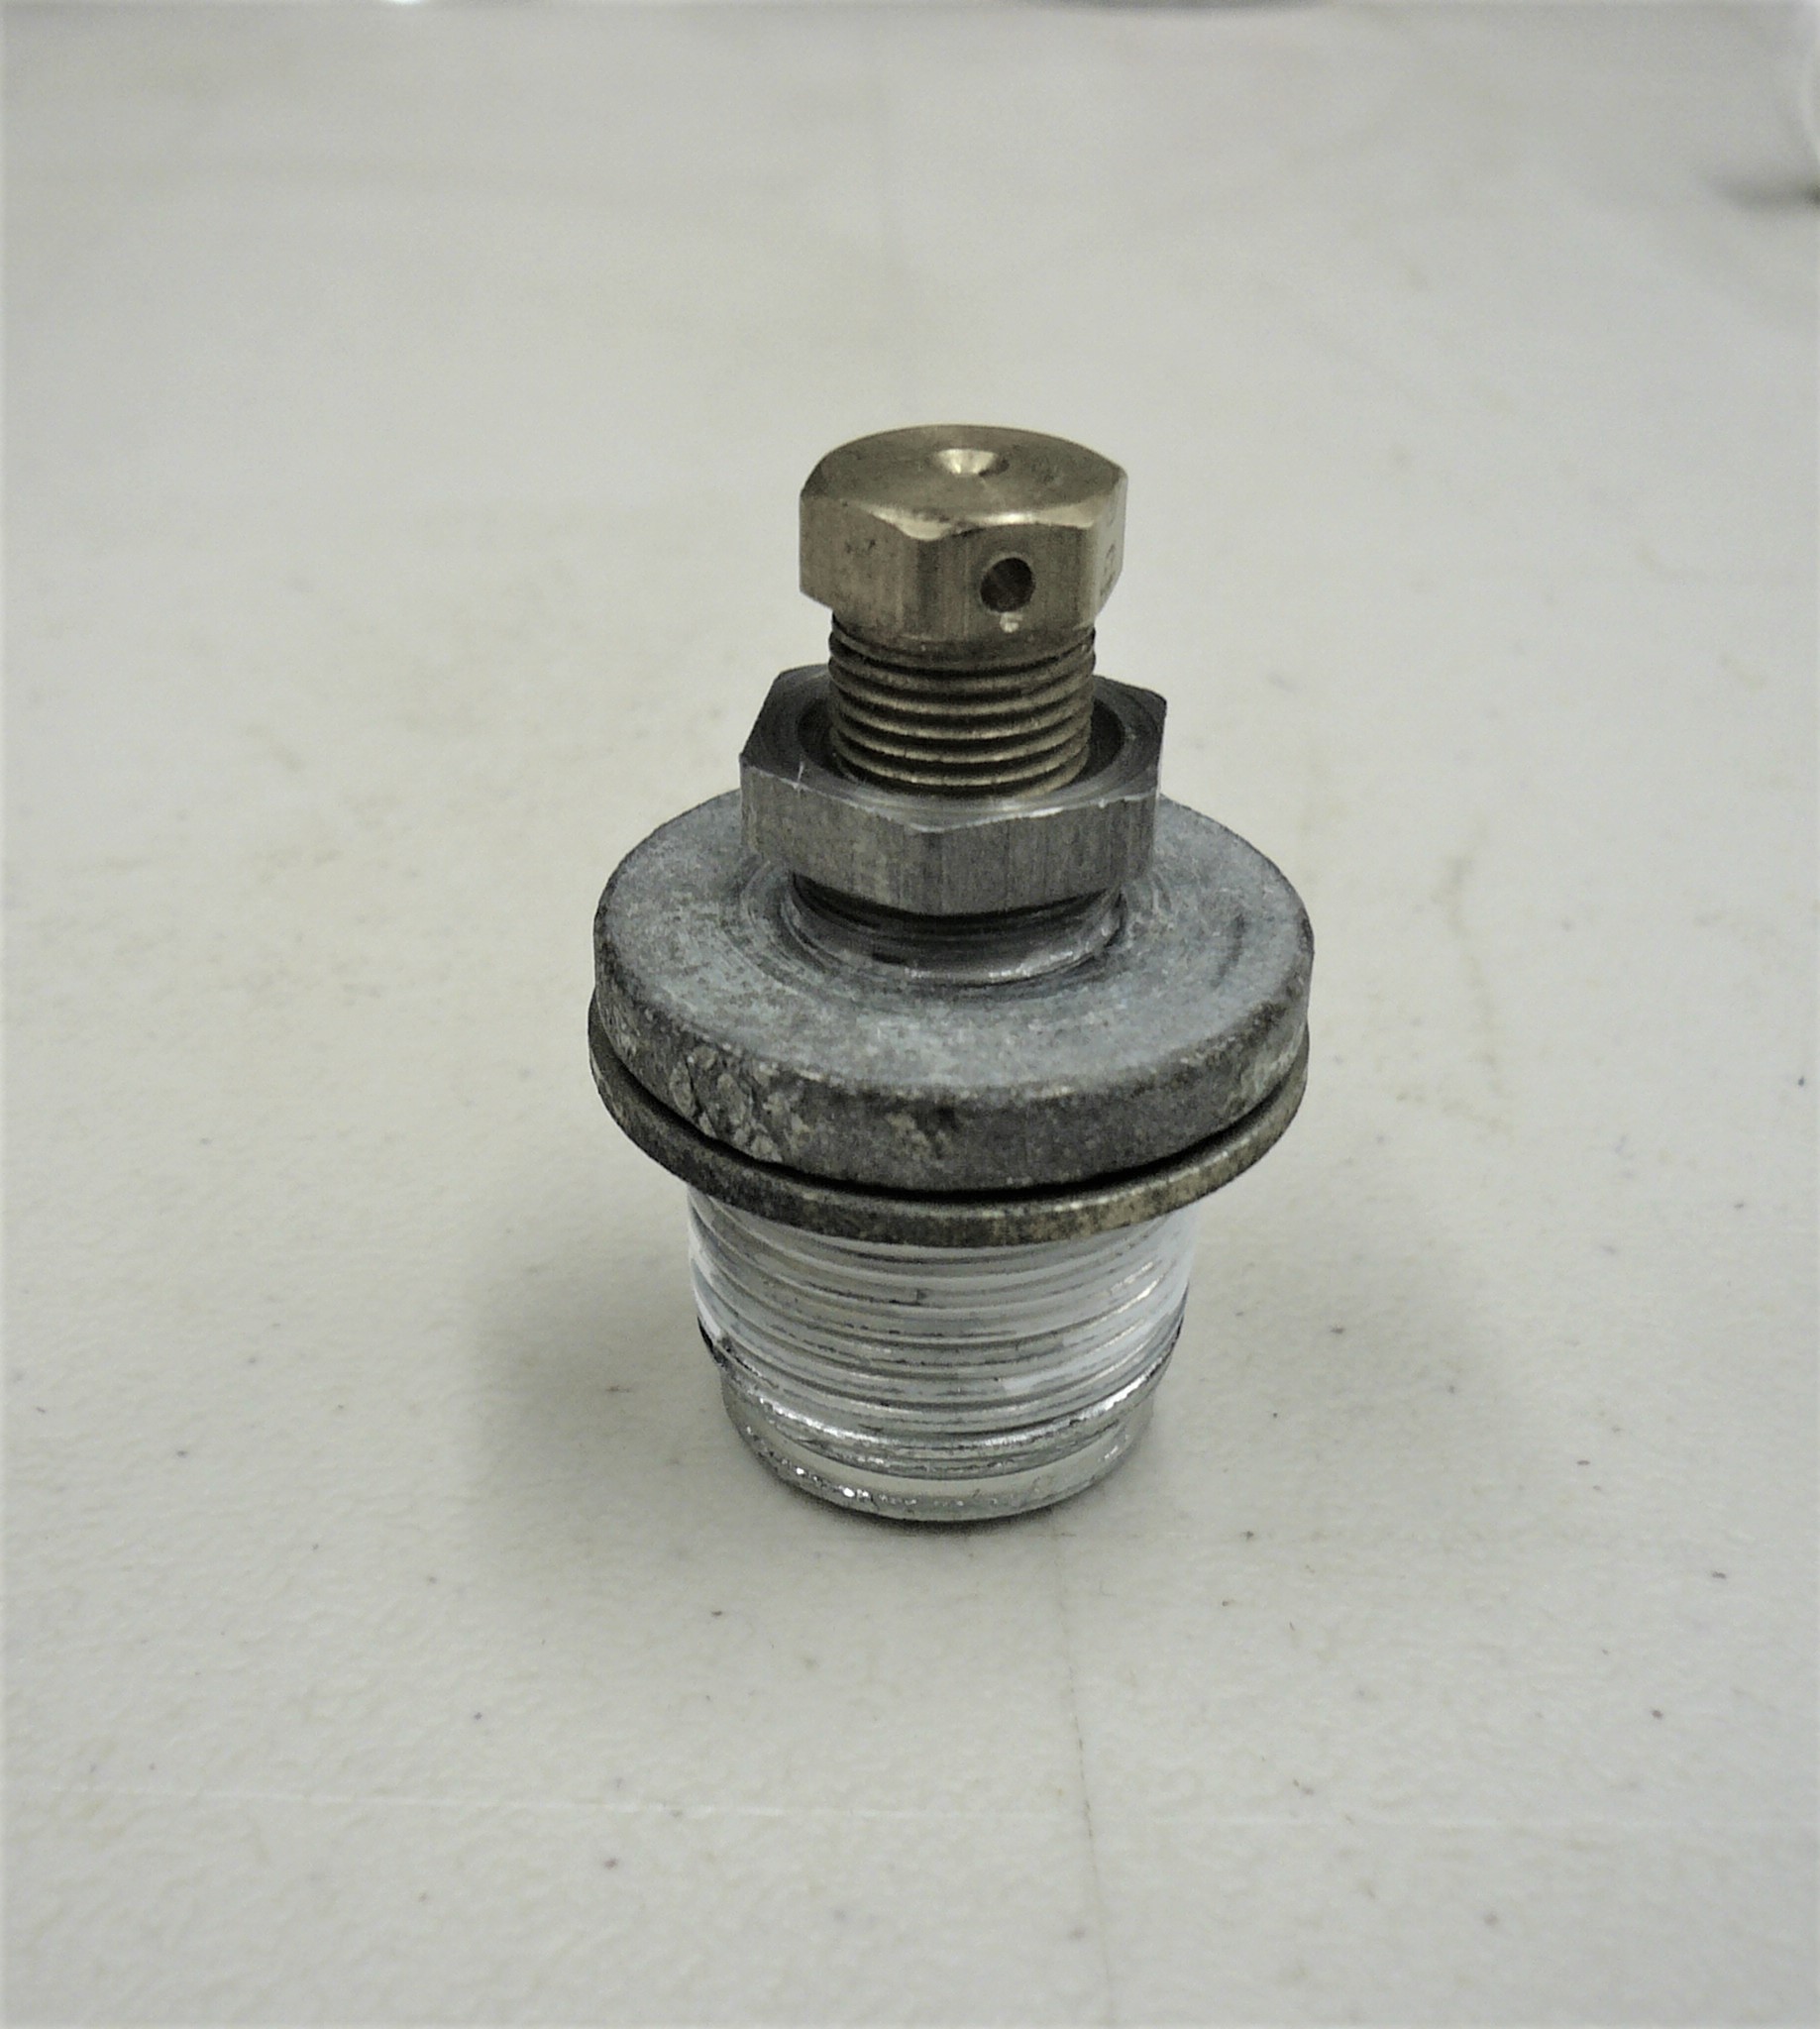
2) Modification included drill/tap drain plug for 1/4" NPT to 1/8" NPT fitting and 1/8" NPT plug drilled for safety wire (see pix's).
3) I used Mobil 1 LS 75W-90 synthetic and warm it up first to help it pump easier.
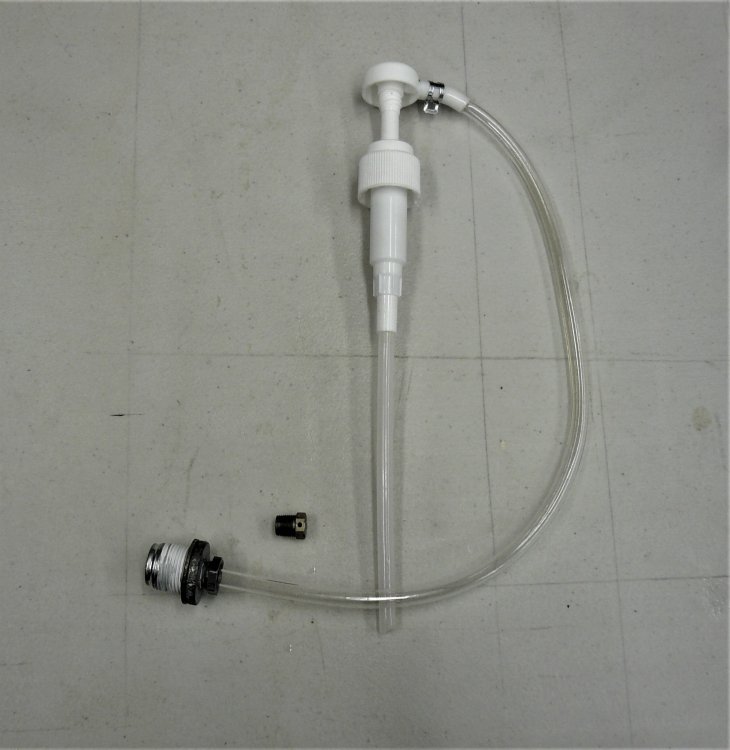
4) Use oil transfer pump with longer 3/16 diameter pick-up tube so it can reach the bottom of the bottle https://www.amazon.com/gp/product/B000BQW5LK/ref=ppx_yo_dt_b_asin_title_o02__o00_s00?ie=UTF8&psc=1
5) Remove exhaust support bracket so you can get both hands in position to remove the fill hose, cover the drain hole after filling, and get the 1/8" plug threaded into the drain plug. I suggest you try this many times with a dry PTU... practice makes perfect... and less clean up.
6) Mark the bottle so you know when you reach the 28 oz. point. I added an additional 1 to 1.5 oz in case I spilled any while performing tube removal after filling. It should be noted that the fill hose had a snug fit into the pipe fitting so it sealed well. I added some electrical tape to the tube in case I needed to create a seal between the tube and fitting (see pix). I also used Permatex thread sealant #59214 (high temperature).
7) Use safety wire on the 1/8" pipe plug to keep everything in place since the installation torque will be lower because you'll be tightening the 1/4" NPT fitting to seat the factory drain plug.
8) Reinstall the exhaust support bracket and add a dab of antiseize to the exhaust bolt for future removal.
Note: I recommend changing the fluid every 20K miles, that cat will cook the PTU fluid and changing regularly is cheap insurance. Additionally, I looked at using the PTU vent tube as a fill port, but it was easier to use the drain plug. You can use the vent tube but you can only add 2 oz. at a time until the trapped air in the PTU case is "burped" to allow the fluid to fill. Forcing the fluid with pressure will potentially create a leak path past one of the seals.
- Summer Solstice, OhareFred, TopperHarley and 1 other
-
 1
1
-
 1
1
-
 2
2


Smelly AC
in Interior
Posted
Foul Interior Odor Finally Found. It is the dash silencer pad. I've owned this low miles 2014 Journey for a while and haven't been able to pinpoint the foul smell in the interior. I FINALLY removed the seats, carpeting, and center console and found it's the mastic/dash silencer. Since I wasn't going to roll the I.P. to remove the entire silencer, I ripped out everything I could get my hands on. I did replace it with Dynamat and jute as a replacement silencer. NO MORE STINK!!!