carritt11
-
Posts
107 -
Joined
-
Last visited
-
Days Won
5
Content Type
Profiles
Forums
Gallery
Everything posted by carritt11
-
Finally, My Crossroad Looks Like The Chicago Show Crossroad!
carritt11 replied to dhh3's topic in Wheels & Tires
I guess it wasn't too far on the fender. If you zoom in its by the side mirror. As far as dealer decals go it's the best I've had on a vehicle I've owned. They have different colors for different vehicles so it's not as tacky as most, but they still had to go.
-
Finally, My Crossroad Looks Like The Chicago Show Crossroad!
carritt11 replied to dhh3's topic in Wheels & Tires
Mine head 3 dealer's stickers and a license plate frame. One on the back and one on each front fender where r/t ralley stripes would be. Peeled all 3 but just painted the license plate frame black and kept it. -
A light bar is the best way to go. You can get some cheap bars on eBay. I got a 24" for $50 it works great in the country. I have a thread I started that shows what I did. http://www.dodgejourneyforum.com/topic/7654-led-off-road-light-bar-install/?fromsearch=1 But like you said you don't want to use this light with anyone in front of you, they WILL get blinded.
-
Eagle eyes aren't a bad brand, I bought their OEM replicas when I had my avenger. I had the chrome housing and I wanted the black housing like the RT models.
-
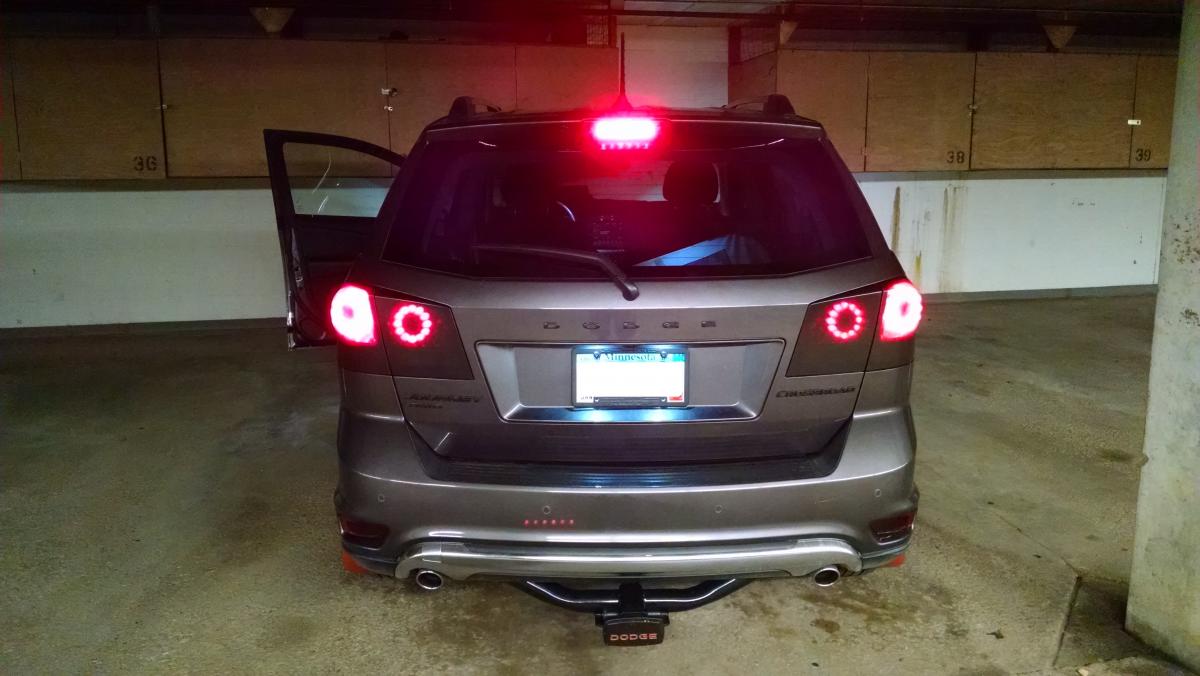
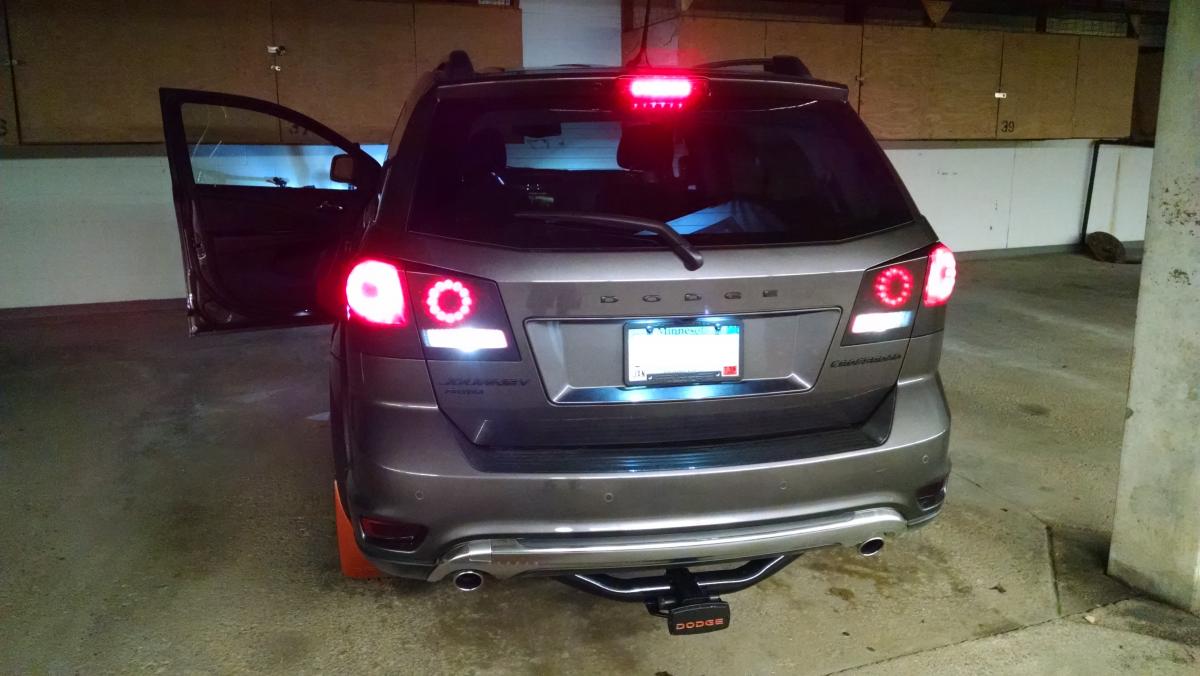
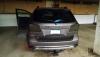
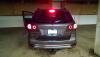
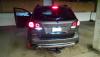
I have very bright LED bulbs for the reverse lights and with the darkness of the plastidip over them they could not be seen if you were in the drivers seat and backing up to a wall. The only reason I didn't tape them off n the first place was because it was purely experimental. On the avenger I had I taped off the reverse light so it could be seen easily before spraying. As for the bulbs I got mine on eBay they really light up and make a difference in visibility
-
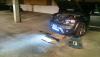
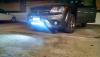
24" LED light bar lit
carritt11 commented on carritt11's gallery image in Dodge Journey Member Albums
 Got it on eBay. Only spent $50 and they ended up sending me 2 lol. Works great for a cheap light bar.
 -
It was 4 light coats of regular black dip then 3 good coats of glossifier to give it better coverage and a little shine. I recently peeled it because I missed the bright lights my led reverse lights emitted. I do like the way they looked so I plan on getting vinyl tint but will end up cutting along the clear portion of the reflector to allow the light through.
-
HID kit and Yellow fogs
carritt11 replied to BlackTopJourney13's topic in Glass, Lighting, Mirrors, Sun Roofs & Wipers
I stand corrected, but in my experience with the mopars I've owned I have not gotten flickering from a properly functioning relay. -
HID kit and Yellow fogs
carritt11 replied to BlackTopJourney13's topic in Glass, Lighting, Mirrors, Sun Roofs & Wipers
No, once the relay is installed they don't blink, power comes straight from the battery. If they continue to flicker then there's either a problem with the relay or the ballast. -
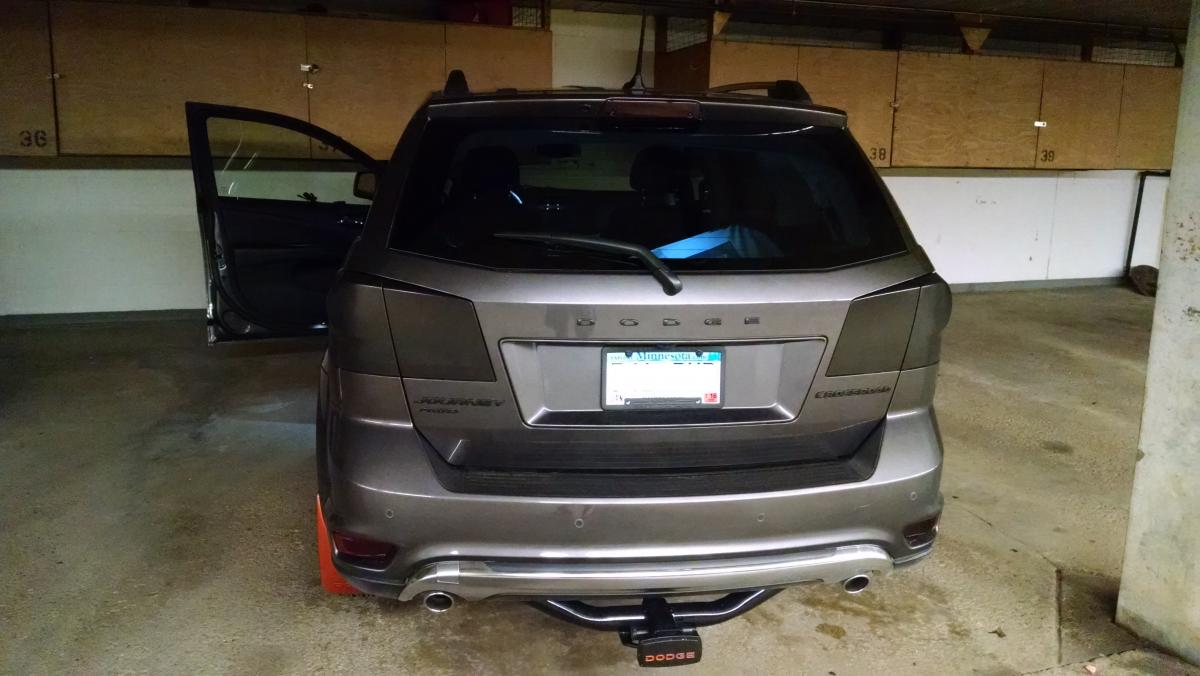
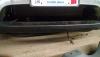
They aren't tinted, the housing is just painted on the inside but the external reflector is still red. The red color is what I wanted to change, doesn't go very well with my orange accents
-
So since I had some extra plastidip sitting around I decided to see how the tail lights looked blacked out. Not sure if I like them or not. Going to give it a little while to see if it grows on me, if I like it I'll do a vinyl wrap like I did with the reflectors and third brake light.

-
LED Off Road Light Bar Install
carritt11 replied to carritt11's topic in Glass, Lighting, Mirrors, Sun Roofs & Wipers
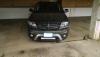
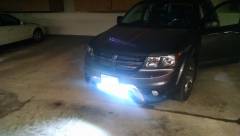
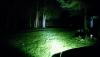
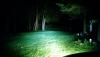
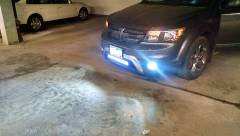
Headlights LED Light Bar Headlights and light bar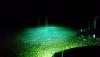
-
All depends on the trailer. The goal is to have the trailer as level as possible so it may be best to buy a couple and test. Good way to make use of the return policy haha. I'm guessing a 2" to 3 1/4" rise.
-
 I have a thread where I explain how I did it all. Search off road lighting and it should come up
 -
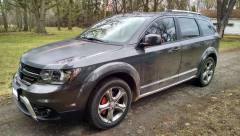 The nice thing about plastidip is that if you screw up or don't like it you can just peel it off lol. I plan on painting the cross hair of the grille orange also. I painted the cross hairs of my avenger to match the car witch is actually the exact orange I have on my journey. It looked very sharp. I have not seen anyone match their molding color to the body of the car. I think the R/Ts may be like that already but not sure.
 -
I did it to install a light bar.
-
LED Reverse light upgrade
carritt11 commented on carritt11's gallery image in Dodge Journey Member Albums
 I originally planned on doing those orange. Just didn't get around to do it.
 -
LED Off Road Light Bar Install
carritt11 replied to carritt11's topic in Glass, Lighting, Mirrors, Sun Roofs & Wipers
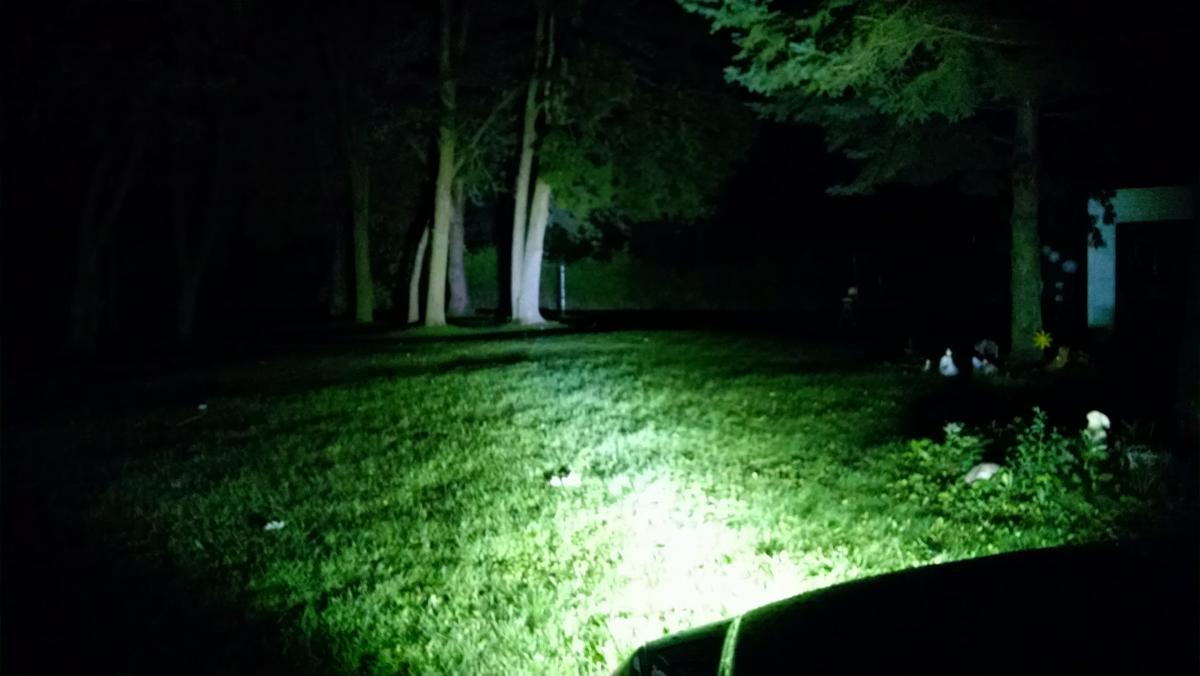
I'll try to get pictures when I can. I tried to get a picture of the light cast compared to headlights in a darker are but my camera on my phone only picked up as far as the headlights. It couldn't focus past that. The bar itself is nothing fancy. Just a cheap China bar I got off eBay for $50. I figured I wouldn't really use it too much so I didn't want to buy the really good ones. It's rated at 8400 lumens. It has epistar led chips. -
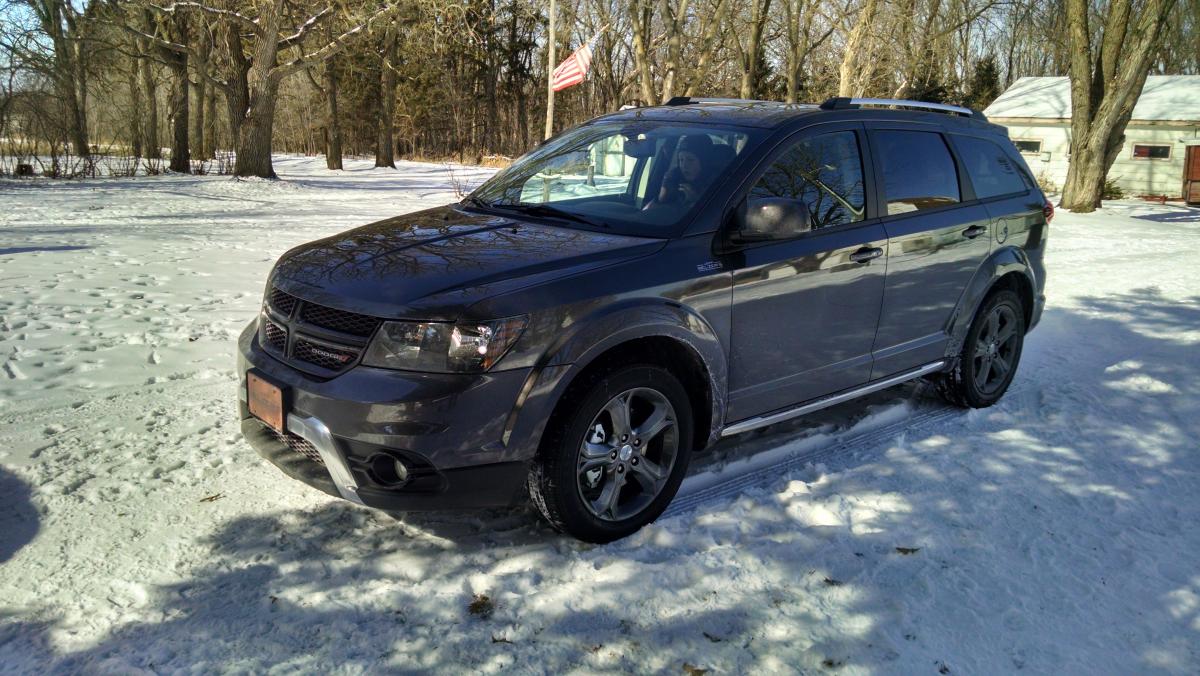
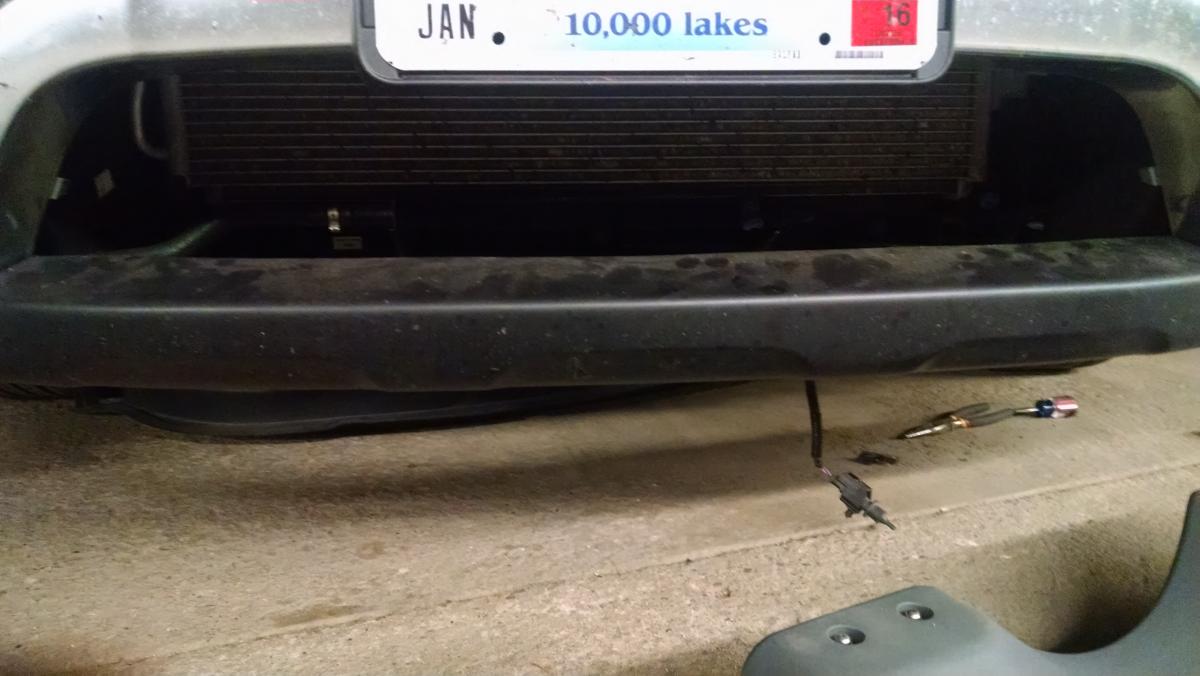
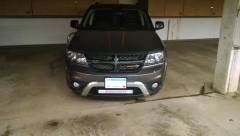
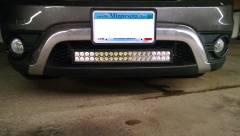
So I decided to order a 24" LED light bar to add a little more of a rugged look while giving me more light when actually out in the sticks trying to avoid deer. There are a couple ways it could be done. I know one member installed a 20" light bar behind the lower grille but I wanted it visible to add to the look. First think I did was remove the lower plastic engine guard from underneath the vehicle. For my Journey(2015 Crossroad) I had to remove several rivets from fender well, along bumper to the next fender well. Next I crawled underneath and noticed that the lower grille was held in by tabs so I grabbed one end with one hand and held the bumper in place with the other and started pulling the grille off from one side to the other. It was much easier than I had expected. One thing to note is that there is a small sensor attached to the lower grille, be sure to pull this off before removing the grille so you do not damage it. After I had the grille removed I positioned the Light bar with assembled mounting brackets in place to see where I could mount to get the desired affect. I came up with 2 options. 1). Not too far above the opening is the metal bumper. If I were to attach there I would have needed to make my own brackets to bring the bar down low enough to be useful and it would also be back further than I wanted. 2) Attach to plastic portion of bumper by drilling holes to mount the brackets. I did not want to take the time to design and fabricate special brackets to mount to the metal bumper so I chose option 2. What I originally wanted to do was drill the holes, place 1/4" thick metal strips along the top of the plastic portion to give it extra stability. After wedging the light bar into place where I wanted I realized that the upper part was not taking a lot of weight. The light fit into this space so well that it rests on the bottom portion as well. If i had replacement bolts long enough I would have used the metal strip idea for extra support. Being mounted only to the plastic proved to be a pretty solid fitment. The bar is not going anywhere. After fixing the bar to the plastic bumper I then measured from the gaps on both sides and above the light bar to cut out a hole in the lower grill to form around the light bar. I cut 5" from each side and 1 3/4" from the top with my dremel. My grille was now an "n" shape. I redrilled a hole for the sensor to pop back on and then I re-installed the grille. It was a tight fight around the light bar. I could have taken another 1/4" off of the top for an easier re-assembly but it popped back on with a little force. As for the wiring, I ran the wires along the side of the grille keeping them away from the radiator. I fished them round the headlight along the fender well and connected to the battery post and grounded to a bold attached to the body. I ran a switch through a rubber gasket by making a hole in it and pulled through under the steering wheel. Right now I just have double sided tape holding the switch in place. When I find where the mounting bracket went for the switch I will attach it. Overall I am very happy with how it turned out.

-
From the album: My Journey
-

From the album: My Journey
-
From the album: My Journey
-
From the album: My Journey
-
From the album: My Journey
-
Here you go. 24" LED light bar mounted in grille