Drivin4fun
-
Posts
15 -
Joined
-
Last visited
-
Days Won
2
About Drivin4fun
-
 JRaven reacted to a post in a topic:
Add 3rd row
JRaven reacted to a post in a topic:
Add 3rd row
-
Kudos to you for wanting to do this yourself All you need is a few basic tools and time...several hours. I haven't removed the journey's bumper but many others and they are basicly the same. Remove grill, sometimes the head lights (once again the wife has the journey so I can't go look to reference) and then normally 2 screws that go into the fenders. a support bracket on the bottom (maybe not after seeing how flimsy the rear bumper is...lol) and then a couple of screw normally under where the grill was.
-
I think the "fender trim" is the lighting effects but if not then I agree, no fender trim. I also love that the rear rim is sooo large that it's tuckin rim
-
Installing aftermarket grille?
Drivin4fun replied to Javier Medina's topic in Accessories, Modifications
No. There should be no cutting. Your grill is made up of two pieces. It should be as simple as... 1. Remove grill, as a whole 2. Separate grill, it snaps together 3. Snap on new ebay grill 4. Install See the pics here for removal help http://www.dodgejourneyforum.com/index.php?/topic/2904-front-grille/ -
Asked Service Department about aftermarket radio
Drivin4fun replied to dodgeman324's topic in Accessories, Modifications
Okay dodgeman, here is a link to a kit on ebay for a 2011 journey double din radio mount http://www.ebay.com/itm/Double-Din-Aftermarket-Radio-Stereo-Trim-Mount-Dash-Kit-/390305798215?pt=Motors_Car_Truck_Parts_Accessories&fits=Make%3ADodge%7CModel%3AJourney%7CYear%3A2011&vxp=mtr&hash=item5ae009d847#ht_1115wt_952 -
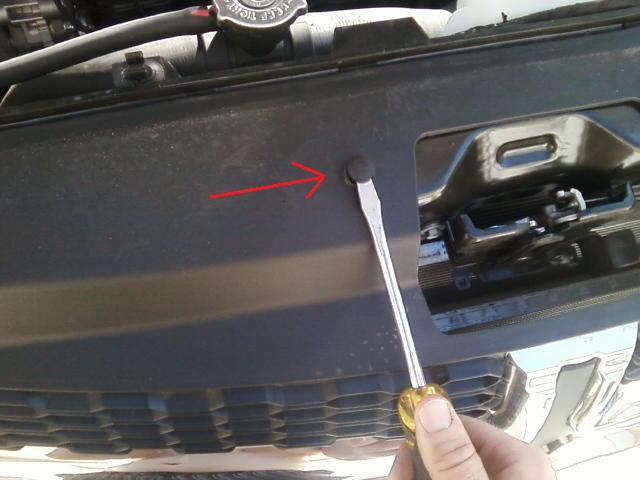
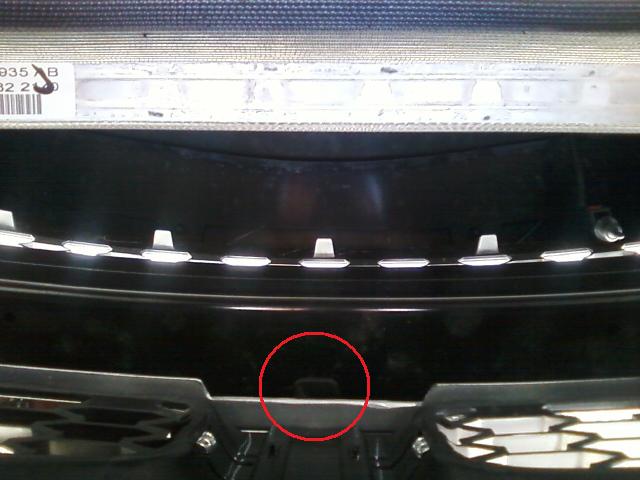
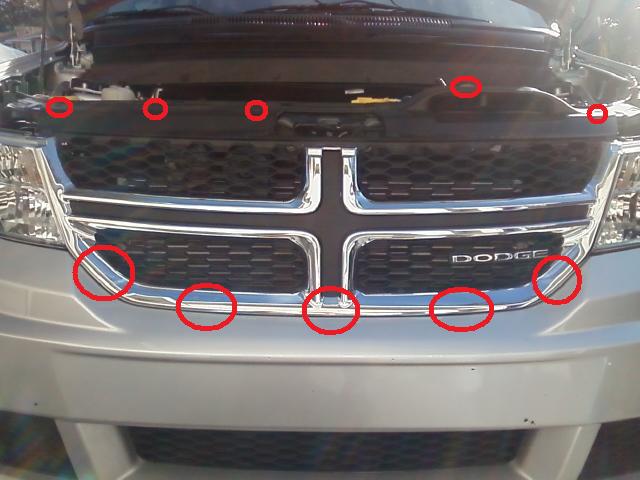
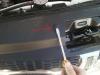
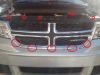
Okay, so now my wife is home from work, I can be of some help... pic 1) I used a flat head screwdriver to slowly pull up the tabs. It you pull them up all the way out, get the other part out that locks it in place or it could fall out unexpected. There are 5 of these across the top of the grill. pic 2) This is harder to see, and I didn't do this step, because my tabs are in tight and I am not looking to replace my grill, but there are 5 black plastic tabs, about an inch across, evenly spaced where the grill and bumper meet. It appears that they push straight out. Use caution as mine are in really snug. Maybe using some kind of soapy water or other liquid substance will help it slide out with out breaking any plastic. This pic was taken looking straight down the center, from the top. pic 3) These red circles indicate all the points where the grill is held on The grill is 2 plastic pieces. The black honey comb is all one piece (the main structure) and the chrome is the second piece (decorative). So in my opinion, if you get that ebay grill it will put a lot more stress on the decorative chrome part, making it structural. I would imagine it being fine in a perfect world but if your grill ever gets hit by a rock while driving, kids pushing on it, or maybe even high winds (from driving fast) it could cause you having to replace the grill again in the future...unless, you are not afraid of fiberglass. Laying some fiberglass on the back side of the chrome piece would stiffen it up enough to with stand the real world...man I'm a genius :roses:

-
Im lucky. mine came with it already on there. The wife is at work right now, so I can't go look at it, but if it's anything like my silverado's lower plastic lip, it was held on with one bolt on each side then plastic clips the whole way across...about every 4 inches.
-
No replies because everyone has the way cool v6 models? lol.
-
symbasys reacted to a post in a topic:
Goodyear Ultra Grip WRT-SUV
-
Or you can just move to Florida, where there is no winter time, and not worry about changing tires :punched:
-
Those look nice. You should make a post, step by step, with pictures... if you get them.
-
Oh how fun it is when your child falls asleep in the third row and then you have to get them out...lol It just happened to me last night.
-
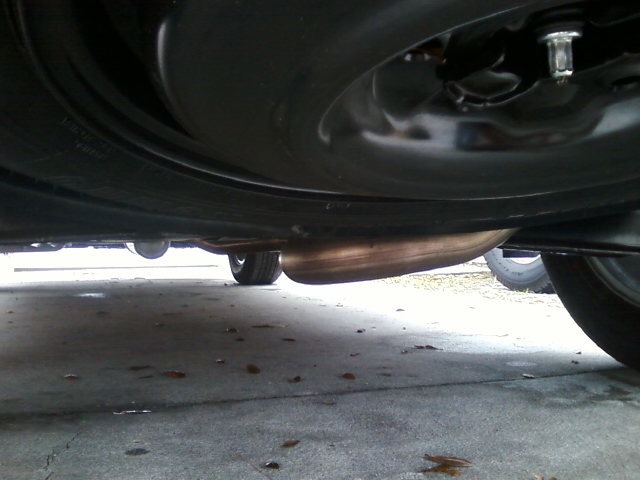
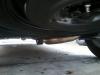
Sounds like you might have bottomed out? A honest exhaust shop would fix that for like $50-$60
-
I have the 2.4L and I just noticed how low my exhaust hangs down in front of the spare tire. Is this normal? Does everyone else look the same?
-
Asked Service Department about aftermarket radio
Drivin4fun replied to dodgeman324's topic in Accessories, Modifications
Good idea, but we need proof... now I want to go pick apart my dash...lol I propose that you find a local custom shop that will make you a small fiberglass bezel, from scratch, for your unit. That would look good, if done right. My journey is my wifes, I have a 2000 mercury cougar and I am building a fiberglass dash from scratch in it right now. It's going well. I have done several fiberglass pieces, molds, speaker boxes to fit in odd compartments, but this is my first dash board. For a shop to do the work I would plan for a $500+ bill -
I know it's an old post, but it could help some one out in the future. The answer is no. It is not as simple as bolting a seat to the floor. Windancer is correct about the sliding center seats but also the floor is totally different and you wont have any a/c vents in the rear or a dome light. I think it's a $1k upgrade for the third row. Well worth the money if you think you might use it.
-
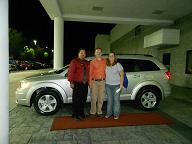
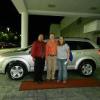
I just got my journey last night, so I don't know much about sizing of whats on it, yet. But it;s as simple as cutting a small piece off and going to a local hardware store. Then match up the diameter and pay by the foot for how long of a piece you need. The colors might not match but oh well, it's for function not beauty. Problem solved for less than $5