All Activity
- Past hour
-
 larryl reacted to a post in a topic:
Shifter blind
larryl reacted to a post in a topic:
Shifter blind
- Today
-
 Man I feel old, I miss my crackberry
 -
2late4u reacted to a post in a topic:
Another 3.6 rocker and cam story
-
2late4u reacted to a post in a topic:
Shifter blind
-
 Jellybeans joined the community
 -
 ElkDung reacted to a post in a topic:
Headlights Full of Water
ElkDung reacted to a post in a topic:
Headlights Full of Water
-
Check ebay. Or the dealer. Or a junk yard.
- 1 reply
-
- 2
-
-
So today {Tuesday} I ordered the 4 Kumho Crugen tires with ship to home for a grand total of $460.04 from Walmart. They are supposed to arrive Friday, and when in hand my friend will mount and balance them for me. I'm hoping he will also put them on the car, as I really don't care for the thought of bringing the wheels "loose" to him. He has gotten very busy this last month, I guess some folks are getting tax refunds and getting cars back in shape for the upcoming summer!
- Yesterday
-
 2017 GT MN joined the community
 -
 lostgurl303 joined the community
 -
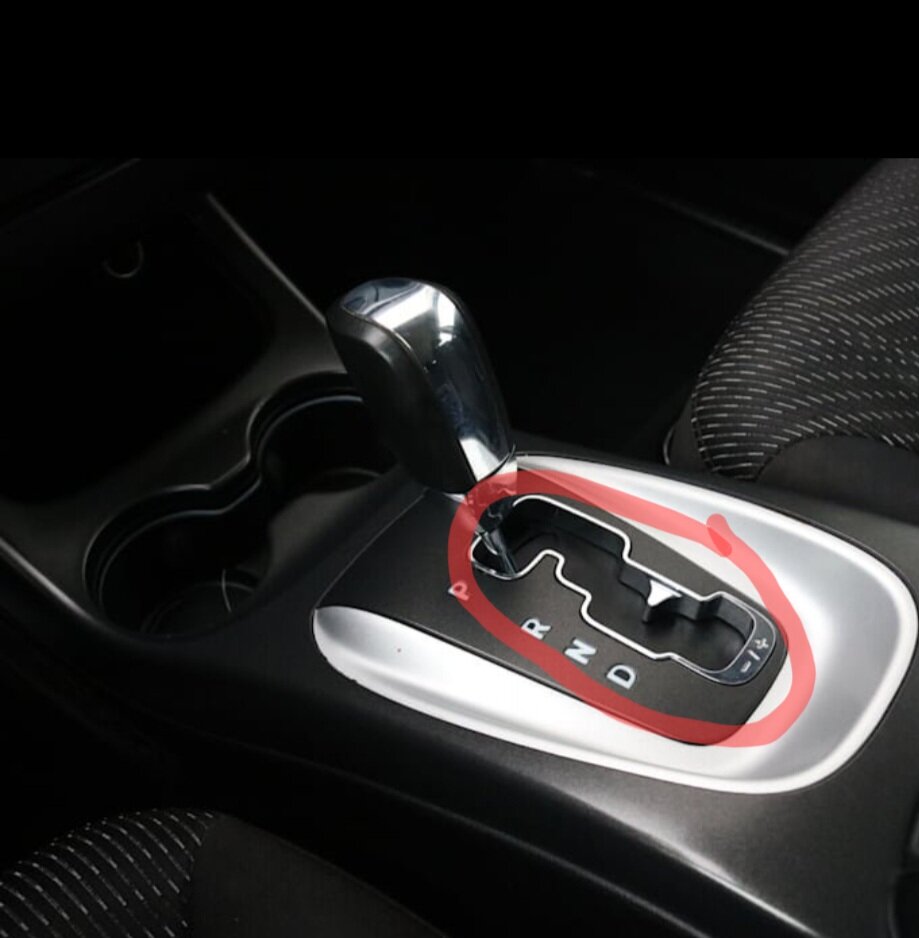
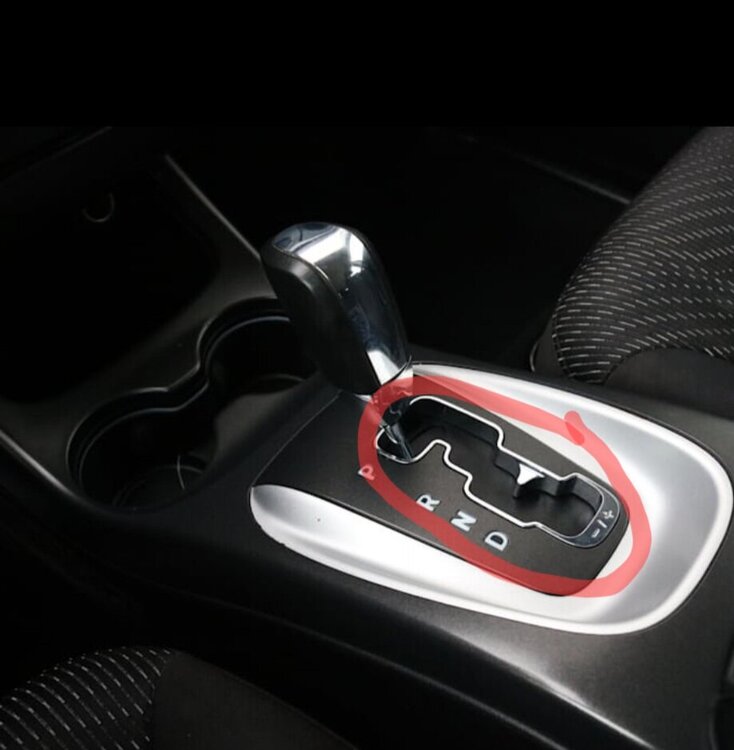
Hey all, My Journey does not have a shifter blind and I can't find one to purchase online. Help, please!! It's the black plastic under the shifter knob that covers the shift gate. TIA!
-
 IM1 joined the community
 -

Sunroof issue
tdottrucker replied to tdottrucker's topic in Glass, Lighting, Mirrors, Sun Roofs & Wipers
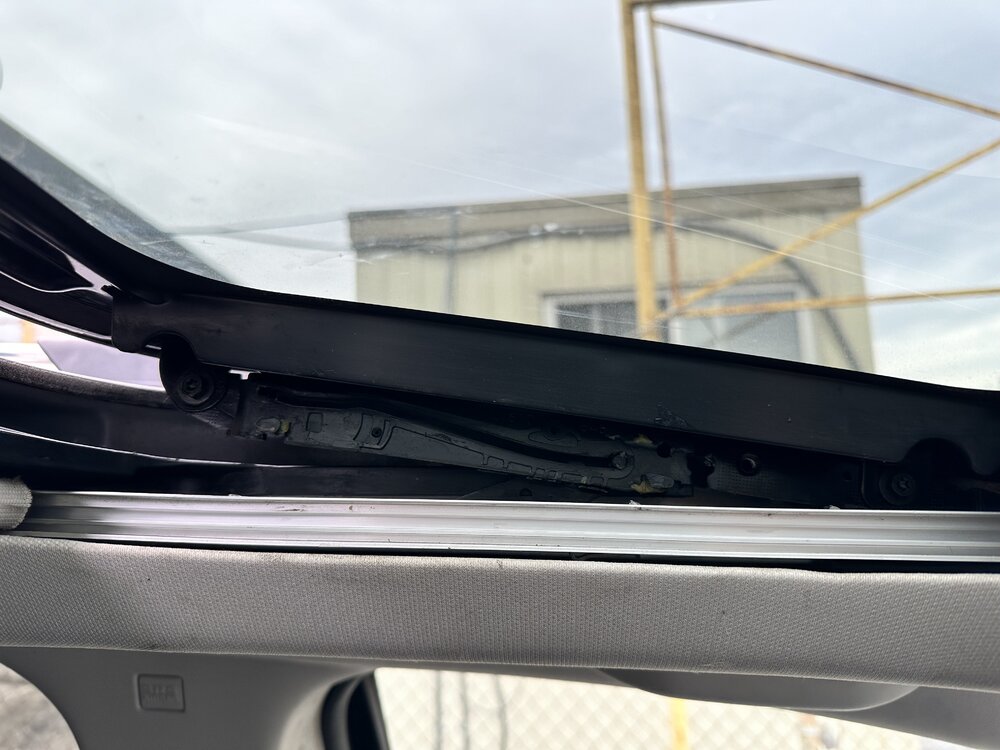
Update: I was able to figure out that this is the drain channel, I need to order a new one. But I found a more bigger problem that is causing a slight leak. My sunroof appears to no longer be calibrated and refuses to open. It opens in Vent mode no issue, and closes no issue. But trying to open, only the passenger side corner drops, I'll hear a quick series of taps that mimic a machine gun sound, then the sunroof stops and waits for you to close it. I can tell the driver side rear corner does not drop like the passenger side does and I believe it has something to do with the black clips that run along the guide. I am posting two photos of the sunroof in Vent mode. You will notice the clip on the driver side is all the way to the front of the guide where it looks like it shouldn't be as it pulled the sunroof a bit forward on the driver side, (little plastic circle) where as the one on the passenger side is not all the way at the front (in the proper position). What would be my best way to correct this issue?
-
Just wondering how has your seats held up? I have the leather /fabric inserts in my 2014 crossroad and my 2011 had the all fabric seat material which still looked great when I traded it in on my 2014 and I remember a lot of post worried about the creases and wrinkles in some of the seats, actually I like the look of the ones in my journey and had noticed real leather looked like that as well.mine has held up real good no rips or real foam breaking down in the seats and since I am close to 250-300 over the years I think has done ,of course I have taken good care with leather/protectant on them over the yrs, In my opium dodge used a good quality seat material in our seats,,,,my grandson has a 2018 altima and his has the beige vinyl / leather seats and they look terrible and the fabric has broken and ripped on the edges, I was looking for replacements seats at the local scrap/ junkyards and all the beige ones were the same just junk now the same year altima with black seats were in a lot better shape not sure if it was a different material or if it was real leather.......
-
 Ashers joined the community
 -
I hate random parts throwing but… cps sensor is critical, not hard to change or expensive. Non oem on occasion can create a lot of weird stuff. As already mentioned. Sensor Reluctor wheel damage or misalignment for cam or CPS sensors comes up on engine sites. VVT sensors run on oil pressure, heat can change viscosity and pressure. How is oil pressure.?
- Last week
-
 RyanDavidPonter joined the community
 -
Welcome!
-
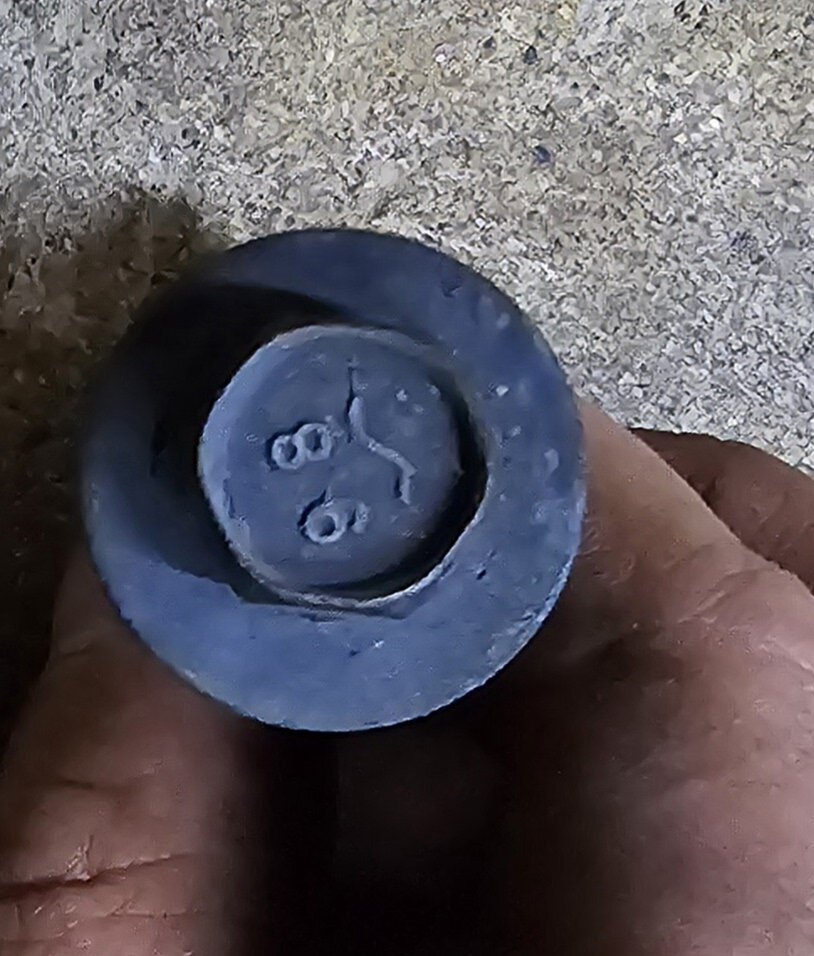
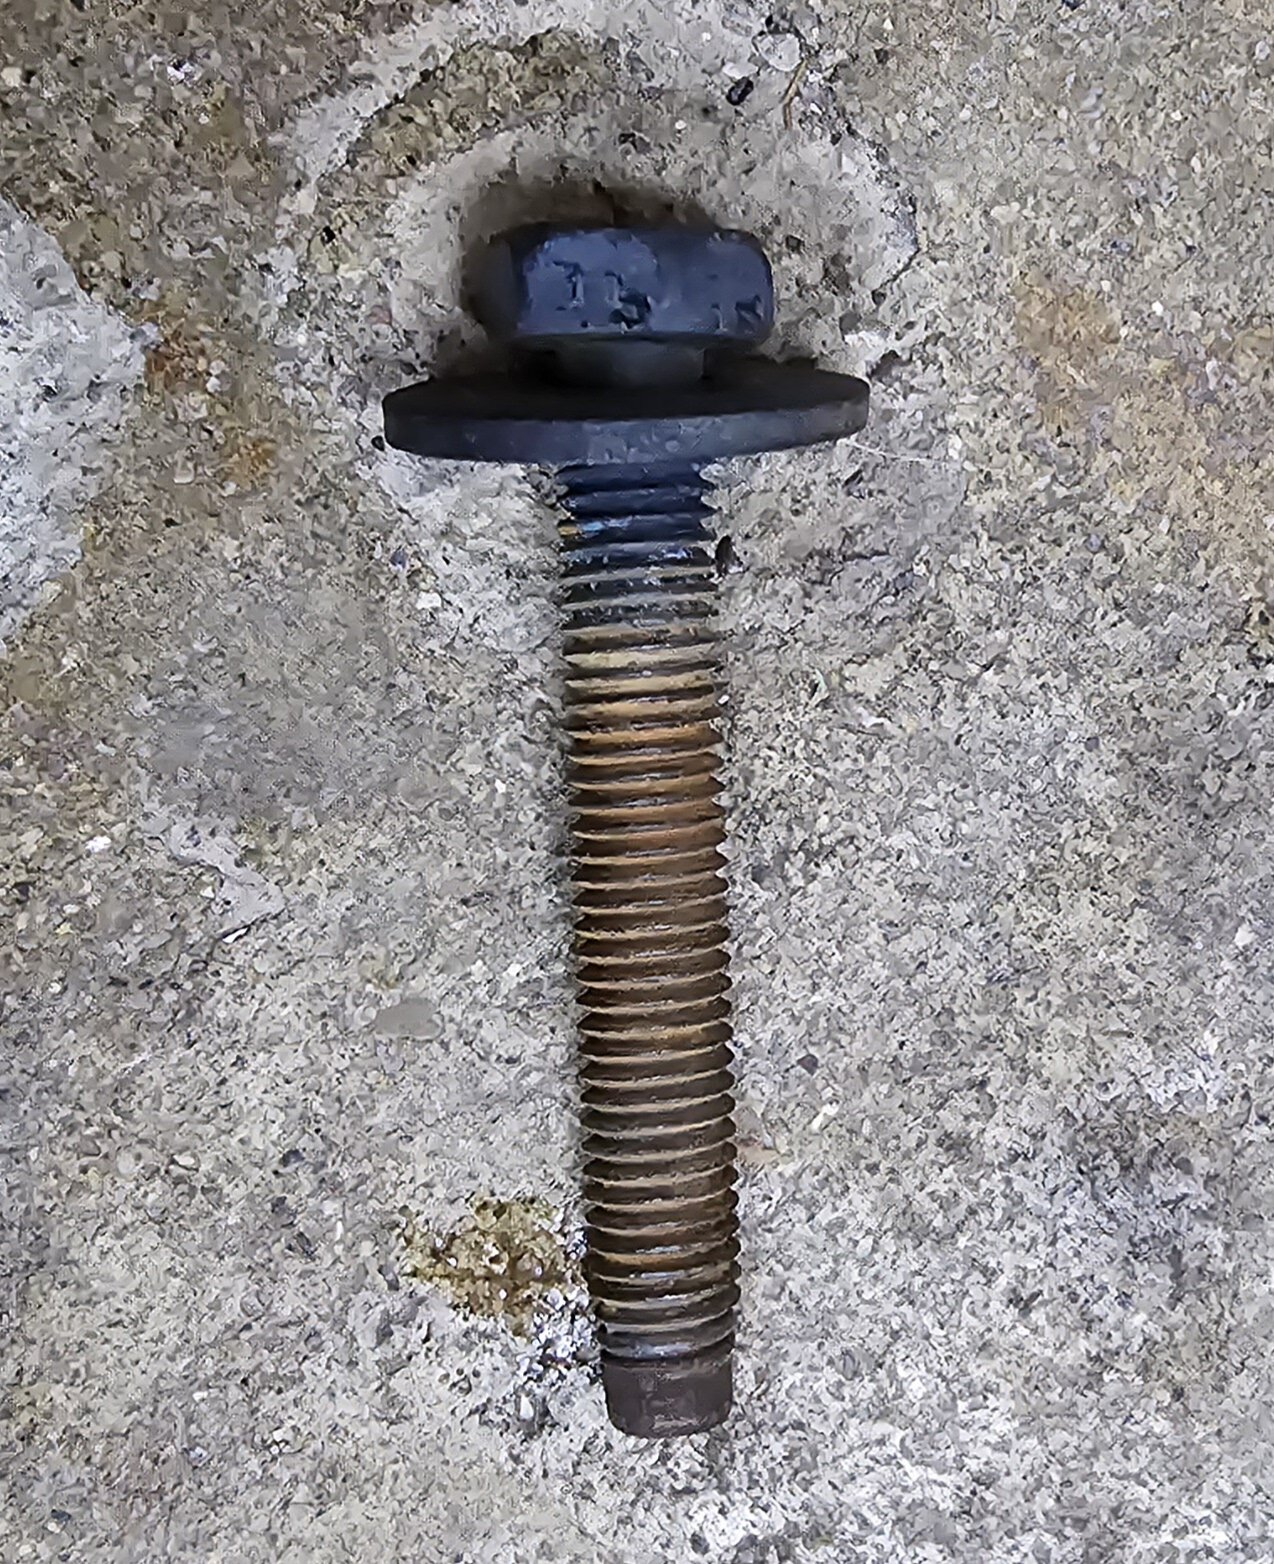
Replacing radiator support/core support and I got almost everything together but I can't for the life of me remember where this bolt goes. Any help would be appreciated.


-
 almeidalex joined the community
 -
 eknoz joined the community
 -
welcome to the group, take time to cruise thur the different sections on the forum and you tube will be a HUGE help on doing the things you want to do that you mentioned, especially the struts the rear can be a huge repair or take the short cut way....LOL what ever you decide, for brakes go on amazon and buy akebono pads .......https://akebonobrakes.mypartfinder.com/
-
The timing has been checked and it is not off I've uncovered the timing chain five times and even showed it to both mechanics the chain is in position where it's supposed to be everything's lined up we have no explanation as to why it's doing what it's doing all the timing marks are where they are supposed to be.
-

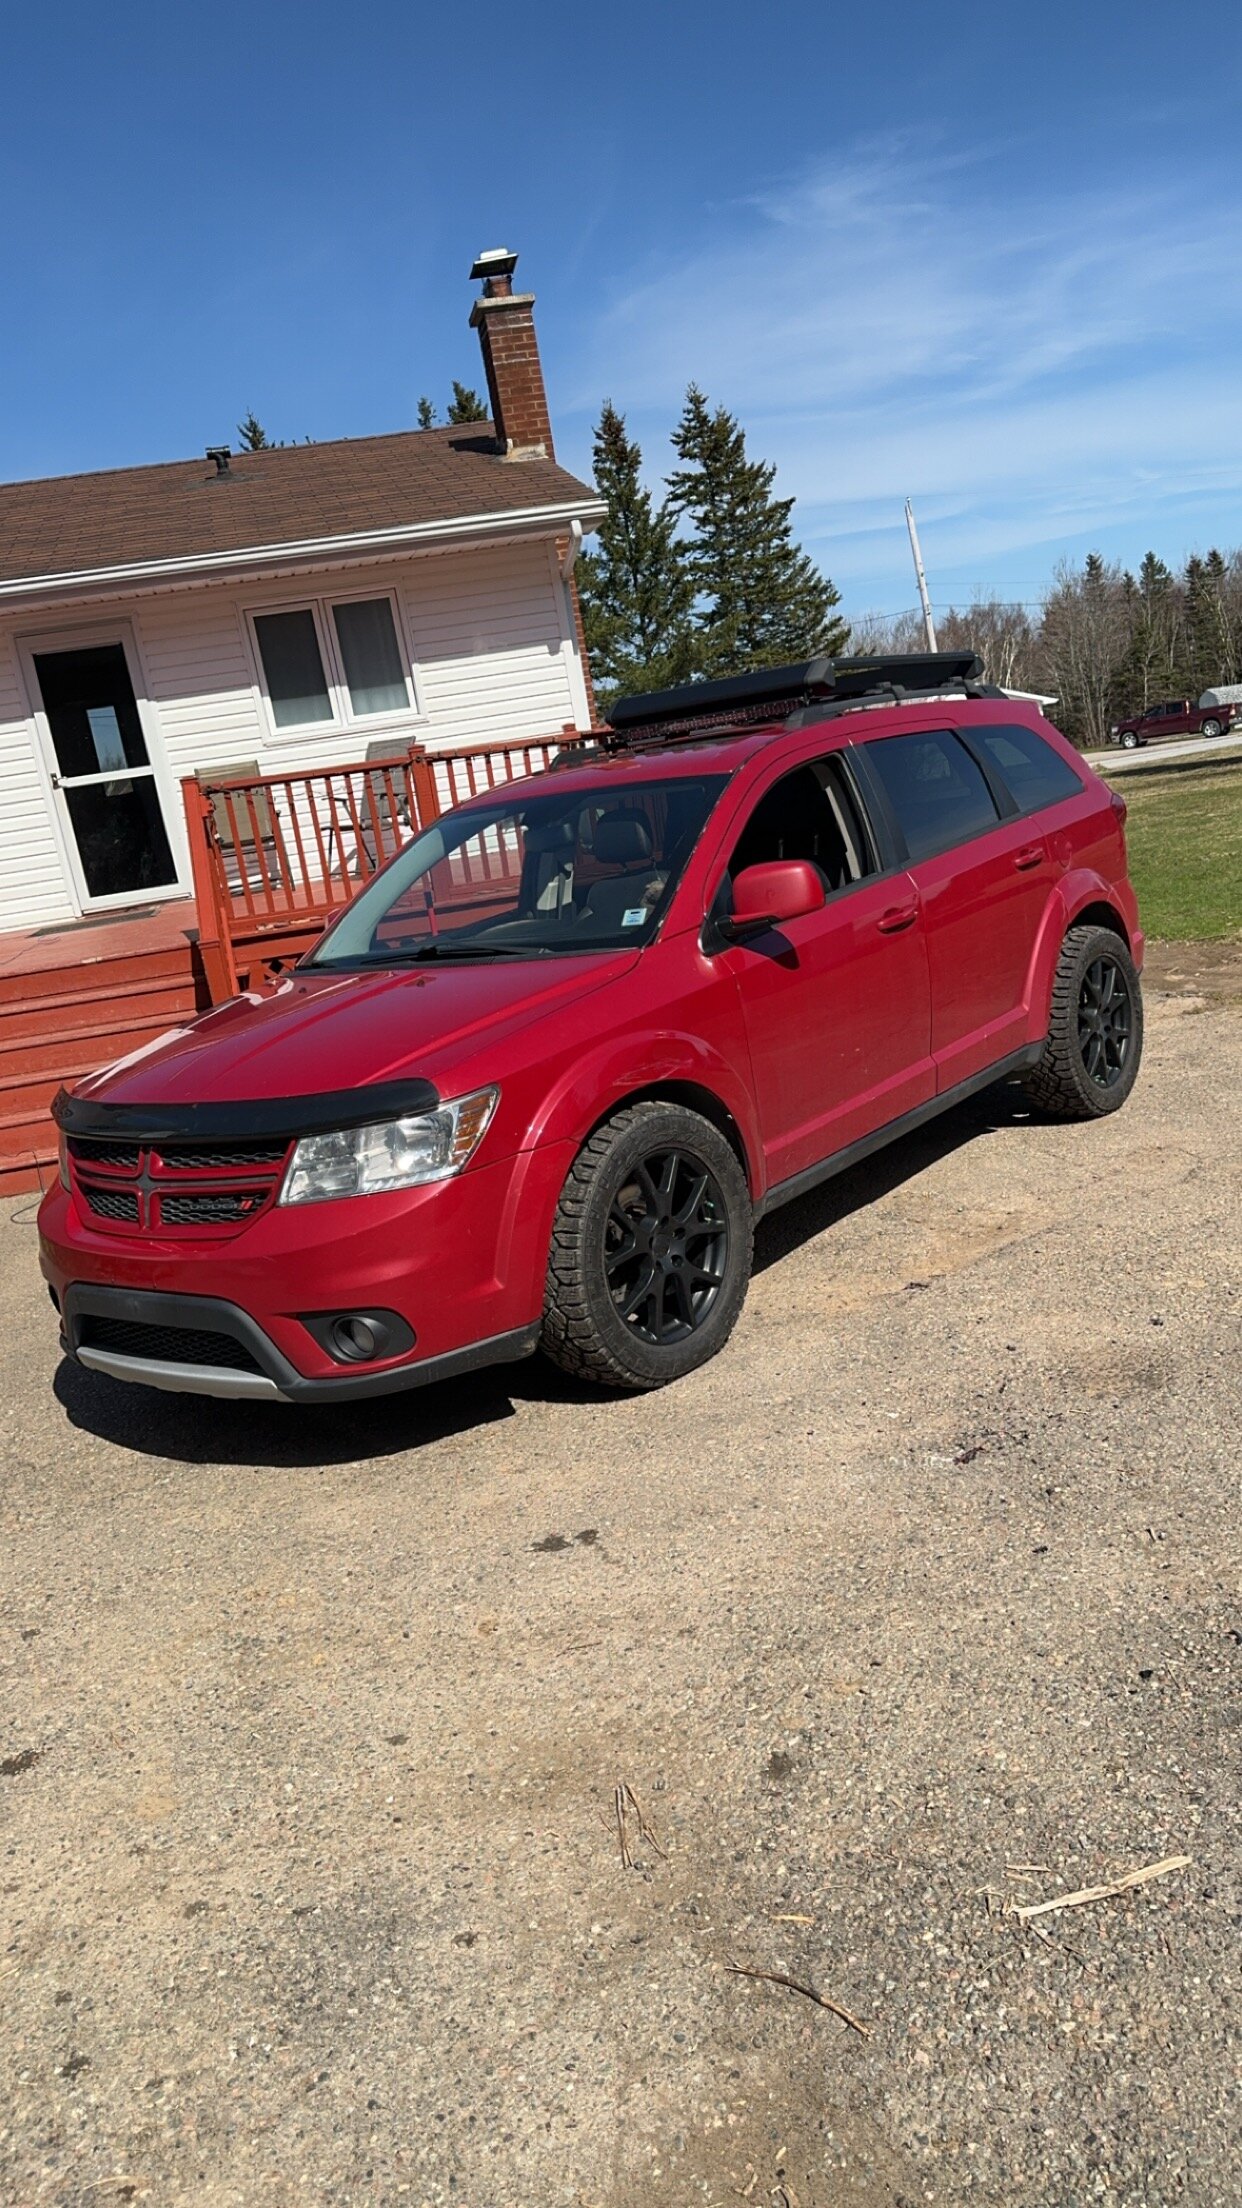
Largest Tires on the Journey
5rebel9 replied to MyWalletHatesMe's topic in Accessories, Modifications
Welcome to the Forum! Sharp looking ride you have. BUT be on the watch for center of tire wear as that wide of tire on stock rim width will force a bulge in the center of the tire. -
Summer Solstice reacted to a post in a topic:
Please help
-
Either a problem with the VVT system OR timing marks are off between crankshaft and cams. You had the head off, very easy to have the crank move off position on reassembly VVT system can handle only a small amount of timing discrepancy and probably why only showing up at operating temp.
-
When I bought the journey it did not have OEM sensors in it they had already been replaced with store-bought brands and it ran fine for 3 months after we purchased it until that heater hose burst and it ran hot after the rebuild is when everything went haywire, I've had two mechanics look at it for me because my scanner tool is only a $500 scanner tool in it only does so much and one of them mechanics has one of the $6,000 snap-on scanner tools that gives you all of your graphs and everything that you can watch voltages peaks and valleys of everything that you can name on the motor and both mechanics said everything looks fine but this should not be happening but clearly it is and I have seen online where others have had the same issue with no report of what they found to be the problem so now I'm stuck with a very nice car that I can't drive.
-
Take the thermostat out and try running it?
-
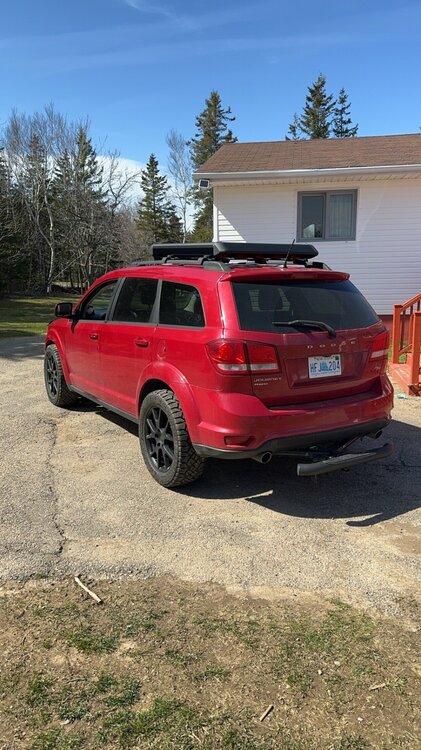
So I’ve been reading around and seen a few posts claiming that 255/55R19 will fit the dodge journey without issues. Some claim it needs a spacer and some claim they fit fine. from my experiences, a tire of that size in a all terrain configuration, even with a one inch spacer will not fit with stock inner fender liners. To fit a tire of that size to have proper clearance, the original liners need to be a removed and some trimming on the forward facing front of the body is also necessary. Not very much but a little bit. From there a custom inner fender can be installed by yourself or a shop with abs plastic sheets. If I were to do it again, I’d get a tire with a slightly smaller width for my clearance. A tire with a less aggressive tread may also work as the Goodyear wranglers I’m running on a 255/55R19 stick out quite a bit. overall it looks really cools and drives a lot softer over bumps and potholes. However for more steering clearance under strut compression I’d go with a tire with less width. The height is fine however. This is my first post here so I hope some people find this helpful. Thanks 😁

-
 MyWalletHatesMe joined the community
 -
When I bought the journey it did not have OEM sensors in it they had already been replaced with store-bought brands and it ran fine for 3 months after we purchased it until that heater hose burst and it ran hot after the rebuild is when everything went haywire, I've had two mechanics look at it for me because my scanner tool is only a $500 scanner tool in it only does so much and one of them mechanics has one of the $6,000 snap-on scanner tools that gives you all of your graphs and everything that you can watch voltages peaks and valleys of everything that you can name on the motor and both mechanics said everything looks fine but this should not be happening but clearly it is and I have seen online where others have had the same issue with no report of what they found to be the problem so now I'm stuck with a very nice car that I can't drive.
-
2late4u reacted to a post in a topic:
Another 3.6 rocker and cam story
-
 HS88 joined the community
 -
 Trapper reacted to a post in a topic:
Looking for Radio / HVAC electrical assistance!
Trapper reacted to a post in a topic:
Looking for Radio / HVAC electrical assistance!
-
Further update It was a LF wheel bearing also and all the caliper pins were VERY STICKY. MOOG front bearing and Raybestos front and rear pads were delivered Friday at 1:45 pm from rockauto for another $185. Bearing and front brake work done by Friday at 4:30pm I did the rear brake work today with snowflakes in the air, 2.5 hrs. time and finished by 12:30 pm Now it just needs TIRES!!
-
2late4u reacted to a post in a topic:
Another 3.6 rocker and cam story
-

In-Floor storage bin has a crack and/or hole - how to fix?
larryl replied to JeffK95Z's topic in Exterior & Body
Or try Flex Seal it's supposed to fix everything... -

Looking for Radio / HVAC electrical assistance!
John/Horace replied to Trapper's topic in Electrical, Battery & Charging
The TIPM and body ground control module BCM have a lot of things running through them. Without a schematic and ability to read them it can be tricky to find this kind of fault. Most common cause of overnight dead battery from parasitic load on Journeys. Is the blue tooth module buried in the dash. Very pricy to buy and hard to get at to change. People pull the fuse in the passenger side kick fuse panel as short term fix. Hand free module fuse so I think called HFM fuse. F131 it’s 10 amp. There is another fuse in this panel that has constant power and it controls hvac switches maybe time delay on radio off function. Try pulling it by itself with the battery still hooked up (leave it out for 5 mins, then back). Maybe it will help synch things; long shot really. Fuse F109. The cluster itself is fed from F108, make sure it’s not blown while you are in there. Get a magnifying glass to read fuse look up table.😀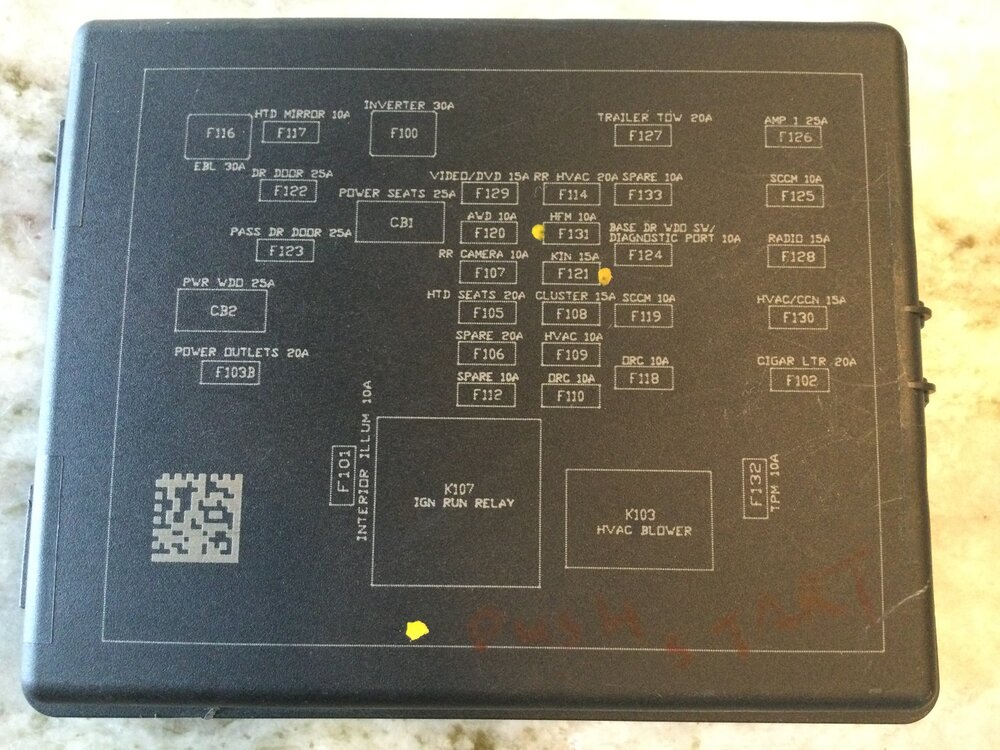
-
John/Horace reacted to a post in a topic:
Looking for Radio / HVAC electrical assistance!
-
In-Floor storage bin has a crack and/or hole - how to fix?
John/Horace replied to JeffK95Z's topic in Exterior & Body
It’s not structural to car so don’t panick. A body shop would pound it back to approx shape, then weld in some sheet metal maybe. Body filler to smooth out. Not cheap. You could do the similar fix sans the welding. Long strand fibreglass is great for filling out odd shapes; water proof and crazy strong. Or just use light gauge metal and rivets to cover a hole if there is one. -
larryl reacted to a post in a topic:
Please help
-
Looking for Radio / HVAC electrical assistance!
larryl replied to Trapper's topic in Electrical, Battery & Charging
As soon as you cross cables and try to jump the damage is sometimes hidden blown fusible links and also the TIPM could have taken a hit Seems like jumper cables do more harm than good in modern vehicles....good luck -
Did you use OEM sensors? Most of the sensors in the Journey are hall effect and no OEM could give you headaches.
-
Just recently acquired a new Journey. I am hoping to try to do most of the maintenance on it myself. Right now it is in dire need of struts, tires, brakes and at least a tune up. I hope to learn some stuff from the wonderful people in this forum.
-
I have a 2013 Dodge Journey with the 2.4 l and the heater hose burst and it ran hot and blew a head gasket so I replaced the head gasket rebuilt the head all new camshaft sensors crankshaft sensors VVT solenoid controllers all new and the motor runs absolutely perfect until it reaches 200° and then it starts throwing a p0365, p0344, p0016, codes and they only come back when the motor reaches full running temperature all sensors ohm out perfect all electrical plugs have the correct voltage and I am at a loss please help